Meet the Author

Artist | Owner of Squishing Paint | Educator - Sara brings over 40 years of creative experience, a decade of specializing in acrylic painting, and a passion for guiding new artists as they embark on their own artistic journeys


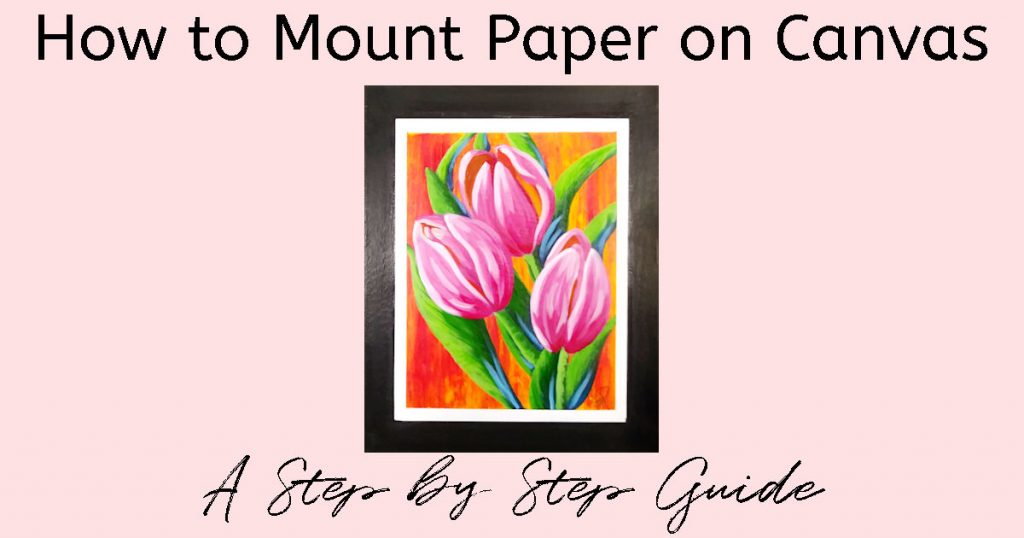
Glue A Practice Painting Onto Canvas For A Gallery Worthy Piece Of Art
In this post, I’m going to show you how to mount paper on canvas so you can take those awesome practice paintings and make them look professional.
Because I almost always paint on cardstock, this is a technique that I frequently use when someone falls in love with my artwork.
This is an easy way to spruce up a paper painting and, even though it may have started out as something for an art journal, it ends up looking unique and purposeful when finished.
Ready to do this? Let’s dive in!
The Benefits Of Knowing How To Adhere A Paper Painting To Canvas
Knowing how to mount paper on canvas is a great little trick for your artist’s toolbox. If you’re someone like me, who paints on paper a lot, this allows you to turn any practice painting into a stunning piece.
A lot of new painters don’t have a dedicated art studio so they don’t have the room to keep a whole lot of canvases laying around “just in case”. Painting on paper not only saves you a ton of space but also money because you can find cardstock just about anywhere. Plus, cardstock is frequently on sale so it’s an inexpensive alternative.
Also, this is a great way to use up old canvases that you’ve started a painting on but decided you really didn’t like. That said, if you plan on gifting this painting, or selling it, you should always use a new canvas.
What To Do Before You Glue Paper Onto Canvas
Before you mount paper on canvas, there are a few things that you need to do beforehand.
The very first thing is to make sure that your paper is as flat as possible, which I go over in my painting on paper article.
This is a really important step because you’ll have better success when gluing down the paper. If the paper is flat, you won’t be fighting gravity so it will adhere more easily.
Another step that you can take to prepare, and something that I’ve seen some artists do, is seal the back of the paper to help stop the adhesive from absorbing into it. Basically, you would just spray varnish the back of your paper and let that dry before beginning to add the adhesive.
This is very dependent on the type of paper that you painted on. You can use acrylic paint on watercolor paper, mixed-media paper, acrylic paper, and cardstock. Each paper will require a different approach when using this technique but I mostly use cardstock so that’s what we’ll be talking about in this article.
Because the card stock that I use is quite thick I don’t worry very much about the adhesive absorbing into the paper.
Some artists also use gesso on the canvas, again, to stop the gel from absorbing into the weave. Because canvas can be very porous, it can absorb quite a bit of the adhesive if it hasn’t been primed. However, most canvases that you buy are already pre-primed and ready to go so that’s one less thing to think about!
Adhesives You Can Use To Mount Paper on Canvas
Let’s quickly talk about glues that you can use to mount paper on canvas.
The one that I strictly use is a gloss gel medium by Golden. I have read that you can use Mod Podge but I stick to an acrylic gel medium is because I know for sure that the gel medium will last a long time, it’s made up of the same type of binders as my acrylic paint, it doesn’t cloud, and it doesn’t turn yellow over time.
Yes, it’s a bit pricey but it’s a good investment, in my opinion. I have used Golden’s gel medium for other techniques such as adding it to fluid paint to give it body that’s more consistent with a student grade paint. I’ve also used it to create texture on the canvas and then painting over top of it.
Making Your Paper and Canvas Painting Look Even More Amazing!
When you mount paper on canvas, you want to make it look as though you meant to do it all along so there are a few things you can do to make it look more detailed.
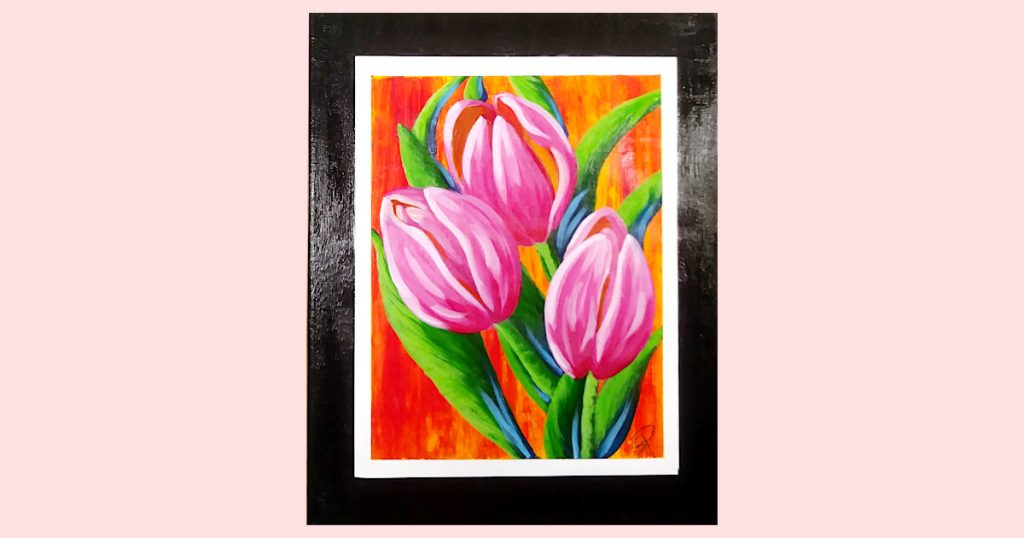
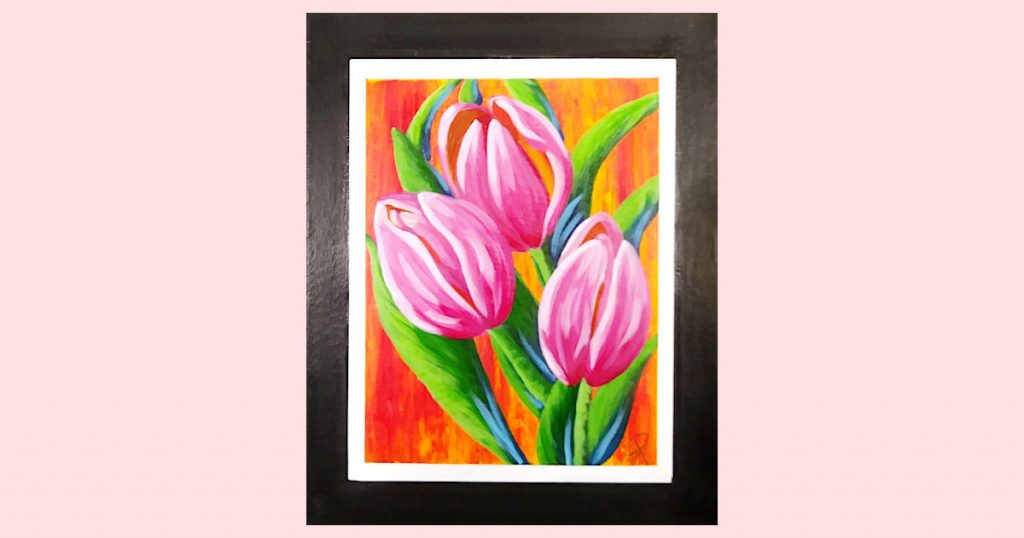
I like to leave a white edge around my paper painting so that I have a thin “frame”. If you leave your canvas white when mounting, this doesn’t much matter but if you paint your canvas edges a different color it helps to create a matting effect.
To create a matting effect, you just need to place painter’s tape all around the edge of the paper and remove it after you’ve finished your artwork. It’s a small step but one that gives paper paintings a more professional look.
I highly recommend using a canvas that is slightly larger than your paper painting. This creates the effect of a frame around the painting without the extra expense.
The first thing you want to do is figure out what color you want to paint the canvas that will be showing around the painted paper. You can go with white or black, which is always classic, or you can choose a color within the painting that you really want to draw people’s eyes to.
Another thing you can do that’s really cool is to deckle the edges of your paper painting. Deckling is a technique that makes paper edges look worn and makes it look like someone ripped it out of a book. It helps give the painting character and a vintage vibe.
To deckle the edges of the paper you can buy an actual deckling ruler (paper tearing ruler) or you can use deckle-edged decorative scissors, which is what I have. We’ll talk a bit more about deckling in just a moment.
Step by Step Guide to Mounting Cardstock On To Canvas
This technique isn’t hard to do but it can be a bit messy and it’s going to take some time. I promise, in the end, it’ll be totally worth it!
Materials List For Gluing Paper and Canvas Together
- Canvas
- Paper Painting
- Paint
- Paintbrush
- Chalk
- Gel medium
- Straight edge (palette knife, old gift card or credit card, etc)
- Parchment paper
- Old Rag or paper towel
- Weights (heavy books or binders, etc.)
- Varnish
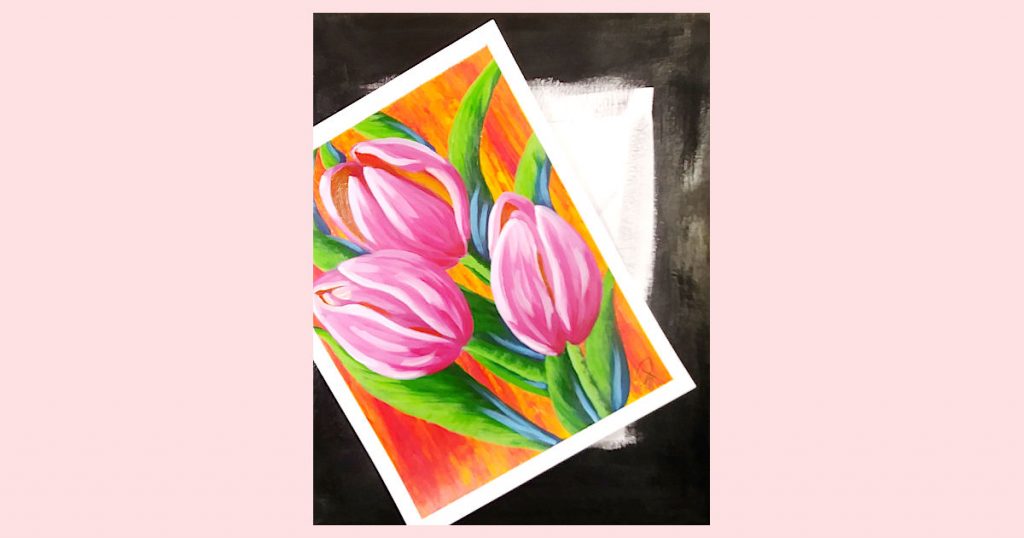
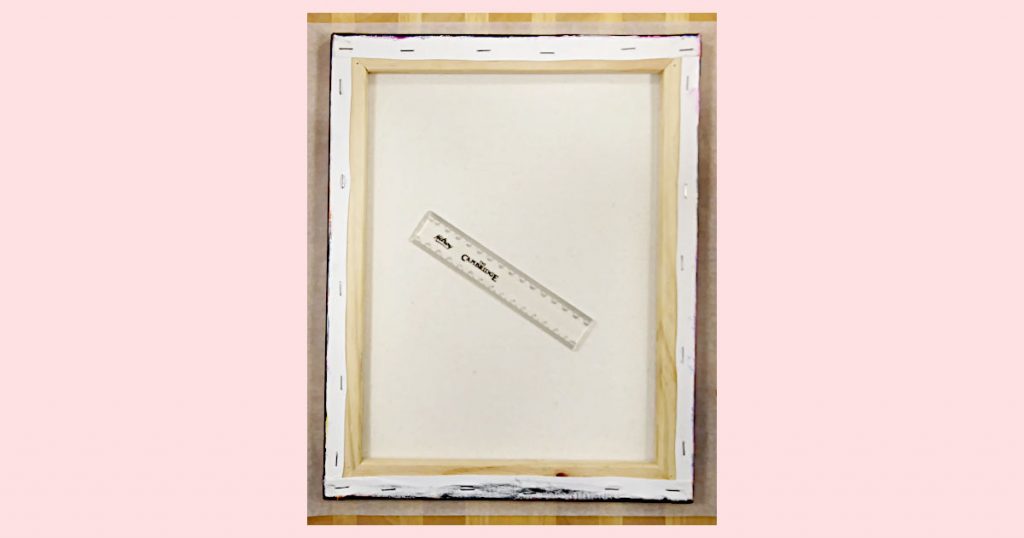
1. Choose Your Canvas Size
If you want, you can choose a canvas that is the same size as the paper painting. In this case, you’d just have to paint the sides of the canvas.
However, I do find it easier to mount paper on a canvas that is larger than the painting so that the edges of the paper have a better chance of gluing down firmly.
Paintings tend to get banged up a bit over time especially on the corners so making sure that the canvas is larger acts as a bit of protection for the paper.
2. Paint the Canvas
Go ahead and paint the front edges and sides of the canvas in the color you’ve chosen to use as your “frame”. Don’t worry too much about this step because we’ll be going over it again later.
Just slap the paint on as a first coat and make sure that you paint the edges in toward the center of the canvas so that the paper covers anything that you didn’t paint. Let this dry.
3. Add Extra Interest To The Edges Of The Paper
I want my paper edges to look like a picture mat so I won’t be deckling for this demonstration but, if you want to fancy up your paper, this is the time to use the deckle edge tool (also known as a paper tearing ruler), or deckle edge decorative scissors, to make worn vintage-looking edges.
I mean, you could just tear the edges of your paper painting by hand but I would caution you against doing that. You could accidentally lose control of the tear and end up with a very big rip straight through your precious artwork. No crying during this tutorial!
To use a pair of deckle edge decorative scissors, you want to look for a cutting edge that’s jagged looking and not too uniform. You can find these scissors in the scrapbooking section of any crafting store or even on Amazon.
Once you’ve found the right pair, it’s just a matter of cutting around your paper painting. One little tip is to use more than one type of decorative edge so that the cuts look more natural.
To learn more about the paper tearing ruler, check out this article.
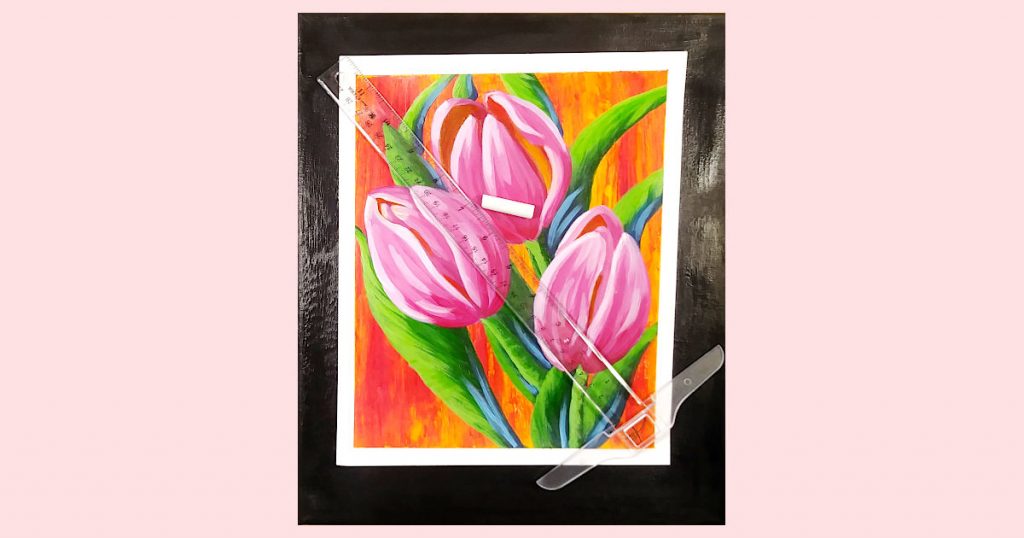
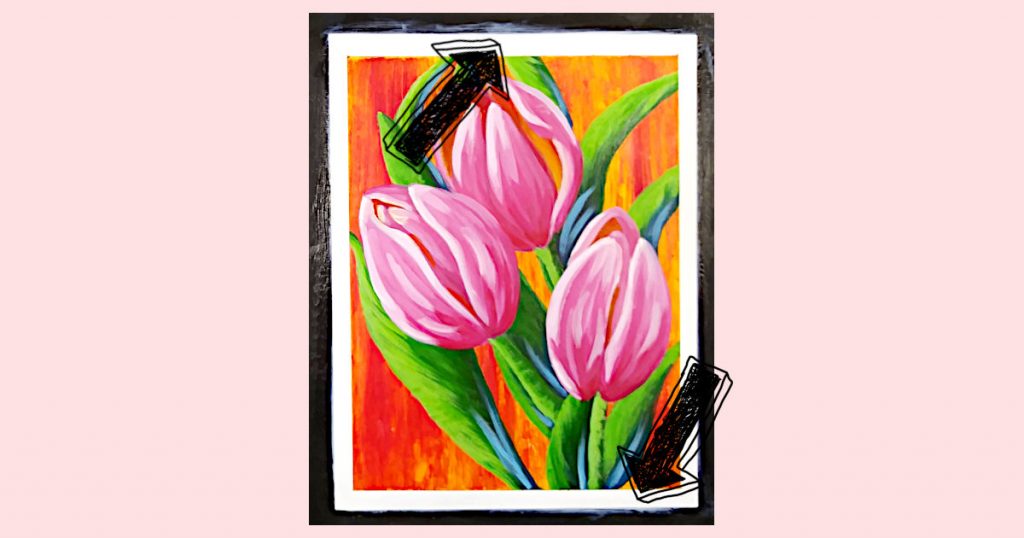
4. Center The Paper On The Canvas
Using a ruler and your chalk, line up your paper painting on the canvas so that it is exactly in the middle, or as close as you can get it. You can use painter’s tape to hold the paper painting in place.
Once you’ve used your ruler to check all sides to make sure that it’s centered, take your chalk and make a few marks along the edges and at each of the four corners of the paper.
The reason we use chalk for this part is that it can take a little time to get your measurements correct. So, if you make a mistake in your measurements it’s not a big deal. Just wipe the chalk away with a rag or a piece of paper towel and start again.
5. Apply The Adhesive
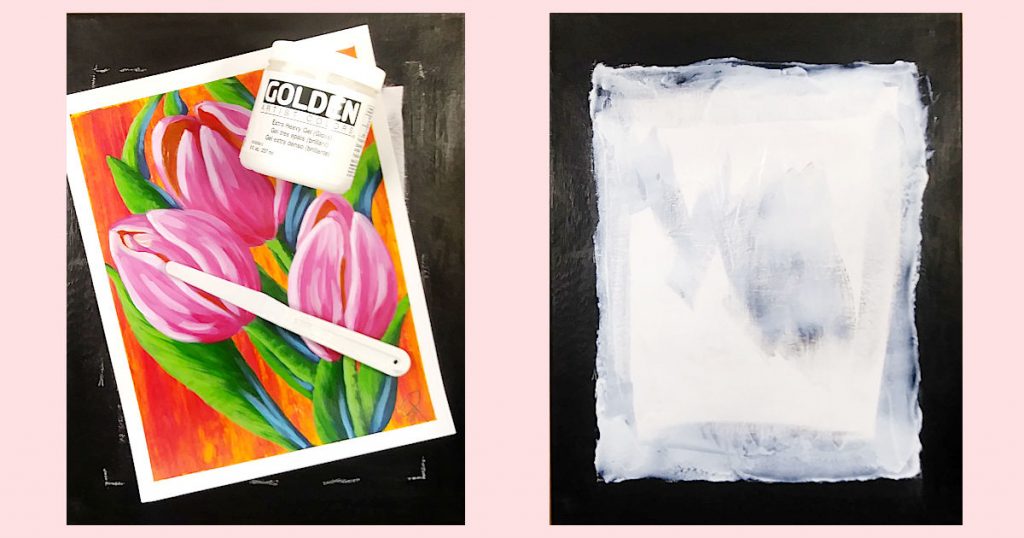
Using a straight-edge, like a palette knife, an old gift card, credit card, or even a piece of thin cardboard, lay some of your gel medium onto the back of your paper and also onto your canvas.
Make sure you put a nice even layer that isn’t too thick but isn’t too thin. You’re looking for a nice even coating on both the paper and the canvas.
It’s really important to get right up to the edges of the paper and also the chalk lines on the canvas so that you have really good coverage.
6. Mount The Paper On To The Canvas
Now, flip your paper over and line it up as best you can with the chalk outline on your canvas. Start to gently smooth it down into place, adjusting as you go.
You may notice, as you’re smoothing the paper down onto the canvas, that extra gel medium is coming out from under the paper. Just take a rag or a piece of paper towel and clean up as much of the access as you can.
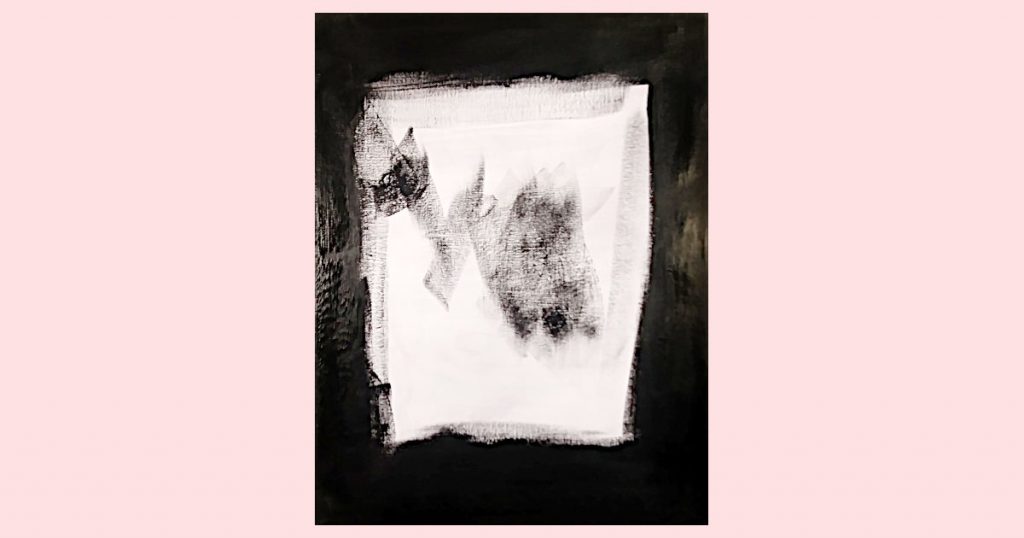
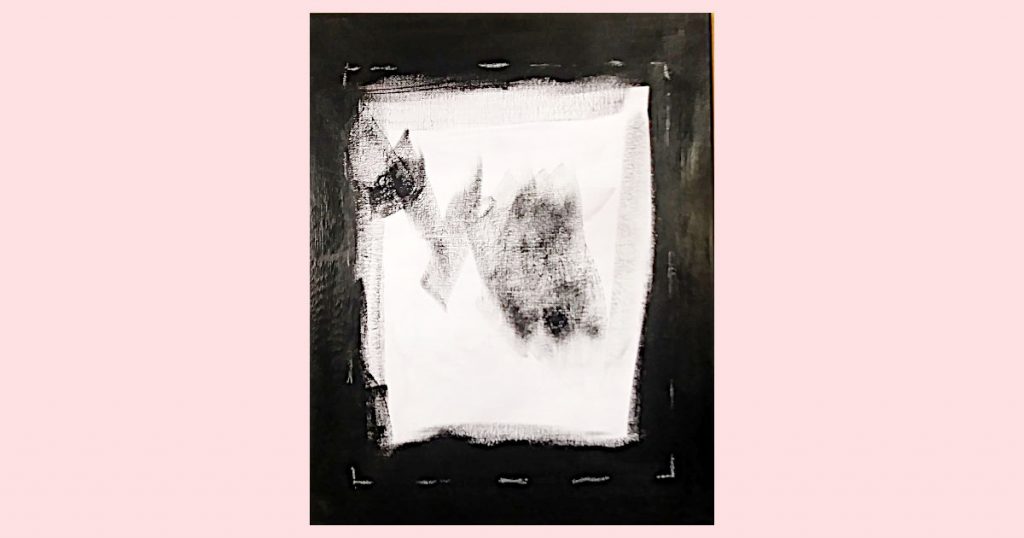
7. Get Rid Of Air Pockets And Extra Adhesive
Put a piece of parchment paper down on a flat surface and turn your painting face down on top of it. Take a straight edge (I used a small mini ruler) and, starting from the middle of the canvas, gently but firmly scrape it toward the stretcher bars (the wooden frame that the canvas is attached to by staples or glue). Go over this multiple times because you’re trying to get out any excess gel and air bubbles.
8. Readjust The Paper
Flip your painting right side up and check to see if the paper moved at all. If so, you can still readjust it at this point. Once you got it lined up again, wipe any excess gel off of the front of your painting.
9. Create A Firm Seal
Grab yourself a fresh piece of parchment paper and lay it down on a flat surface. Next, flip your canvas over again so it is face down on top of the parchment paper.
Now, find something to use as a weight to put on top of your canvas. It should be something fairly heavy.
Once you’ve got a good amount of weight on top of the painting let it rest for 12 to 24 hours to make sure that the gel medium completely dries.
10. Check The Paper Corners And Edges
After 12 to 24 hours, remove the weights from the back of your painting and flip it over. When you mount paper on canvas it’s super important to pay special attention to the corners of the paper.
Take a real close look at those paper edges and especially the corners. If you notice that your paper is lifting anywhere just add more gel medium, put the weight back on it, and wait again for another 12 to 24 hours.
11. Touch Up The Canvas
Once you’ve made sure that the paper is stuck down firmly you can go ahead and touch up your canvas frame. If you find that you have some gel on the canvas, don’t worry, it’s made to be painted so your paint should cover just fine.
12. Finishing The Paper and Canvas
To finish up, you want to varnish the entire piece because, when you mount paper on canvas using gel medium, you’ll usually find that the finish of your paint and the finish of the gel is different.
If you don’t varnish your painting the differences in the sheen will be very noticeable and will make your artwork look unfinished.
You can use either a spray varnish or you can brush the varnish on, it’s completely up to you. If you want to learn more about varnishing paintings take a look at my article. Choosing the right kind of varnish is important depending on the type of painting you want to cover.
Adhering Paper To Canvas Take Away
And that’s it! You’ve just learned how to mount paper on canvas and finish it into a fabulous piece of art to display with pride.
Gluing paper paintings onto canvas can save you money, space, and look fabulously unique. Although messy, is a great trick to use so, if you’re like me, you can paint on paper to your heart’s content!