Meet the Author

Artist | Owner of Squishing Paint | Educator - Sara brings over 40 years of creative experience, a decade of specializing in acrylic painting, and a passion for guiding new artists as they embark on their own artistic journeys


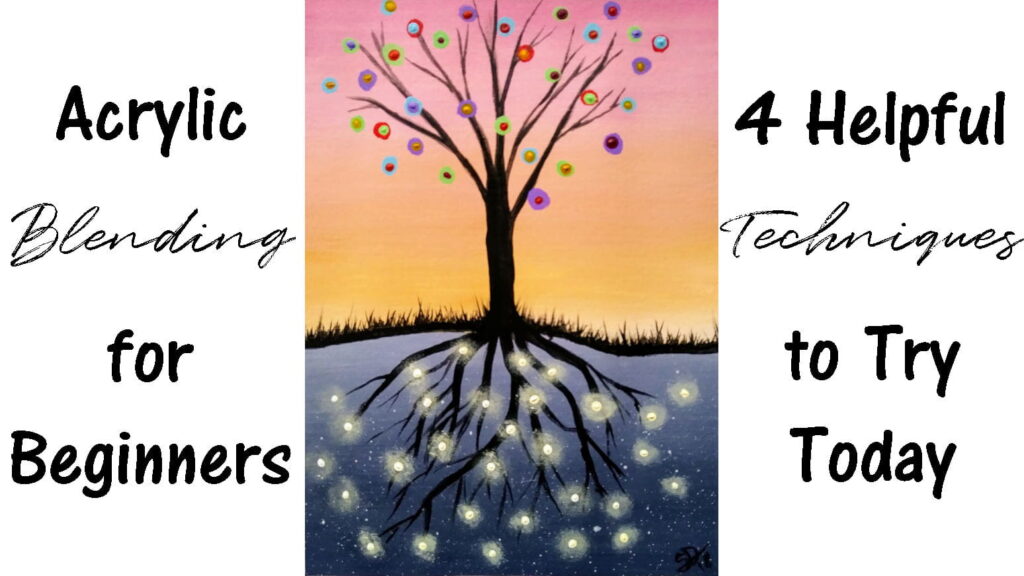
People love working with acrylics because they dry so fast, making it easy to get a painting done in one sitting. People hate working with acrylics because they dry so fast, making it difficult to blend colors together. Pretty big double-edged sword, right?
Acrylic blending can be super frustrating but not impossible and, today, I want to help you find the best method for blending acrylic paint. Try these techniques and see which one you feel most comfortable with and, before you know it, you’ll be an acrylic blending master! Here we go!
Acrylic Blending for Beginners
Why is Learning Acrylic Blending so Important?
Learning to blend acrylic paints is so useful! Whether you want to paint a beautiful sunset, moon glow, mist/fog, clouds, or portraits, knowing how to blend acrylic paint is going to make the process so much more enjoyable.
Before you even begin, though, you need to be aware of a few issues that could cause you problems:
- Colors that are further away from each other on the color wheel could cause a muddy mess when you blend acrylics so be sure to try mixing your chosen paint colors together to see what happens before you start on your painting
- If you’re looking to create a really soft transition when doing your acrylic blending, you should consider using a mop brush
- When you are transitioning from one paint color to another, use a very light touch
- Lightly misting your canvas with water will help slow the paint from drying
- Be prepared to work quickly!
Acrylic Blending Technique #1: Wet into Wet on the Canvas
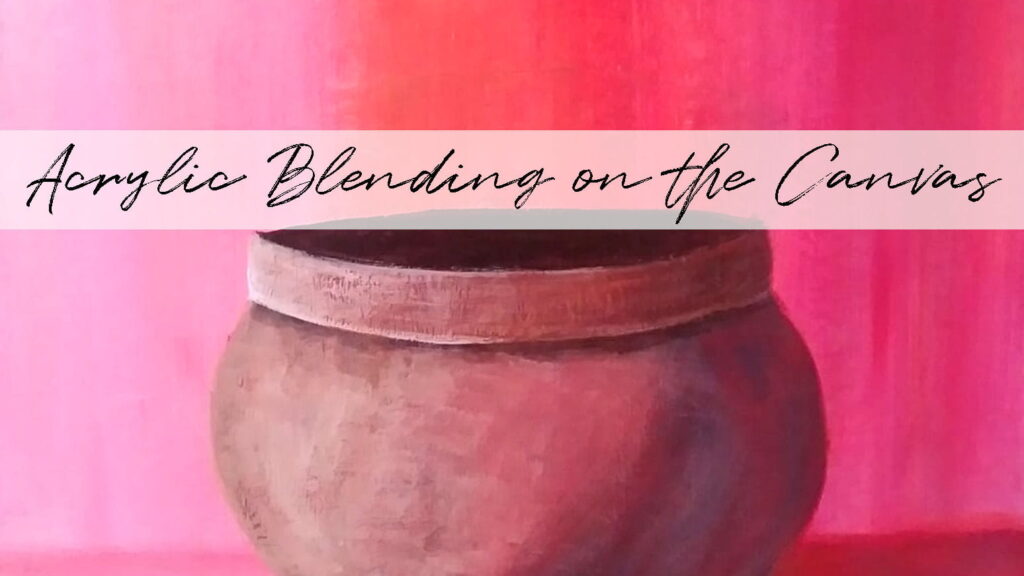
There are a couple of ways to do wet into wet acrylic blending. Let’s start by talking about how this is done on the canvas.
LET’S PRACTICE!
- Grab a few different colors of paint, that you’ve tested to make sure they play well together, and put a small dollop of each on your palette
- Choose a flat brush and dampen it in water (you want the paint to be on the runnier side but not so runny that it drips)
- Pull out some paint and load quite a bit onto your brush
- Starting from either the top or bottom, lay the paint onto the canvas using horizontal brush strokes
- Dip your brush into your next color of paint and add it to the canvas just above, or below, your first paint color
- Paint down (or up) toward your first color and overlap it using a soft touch
- Reverse your direction back into the color you’re currently working with
- Lightly mist your canvas
- If you have a third color, add that to your canvas using the same directions as above but, now, you want to blend it into your second paint choice
- Once you’ve covered your canvas give it another light spritz of water
- If you find the transition isn’t soft enough, grab a mop brush and, using a circular motion, lightly buff the areas where the different paint colors overlap
Acrylic Blending Technique #2: Wet into Wet on the Brush
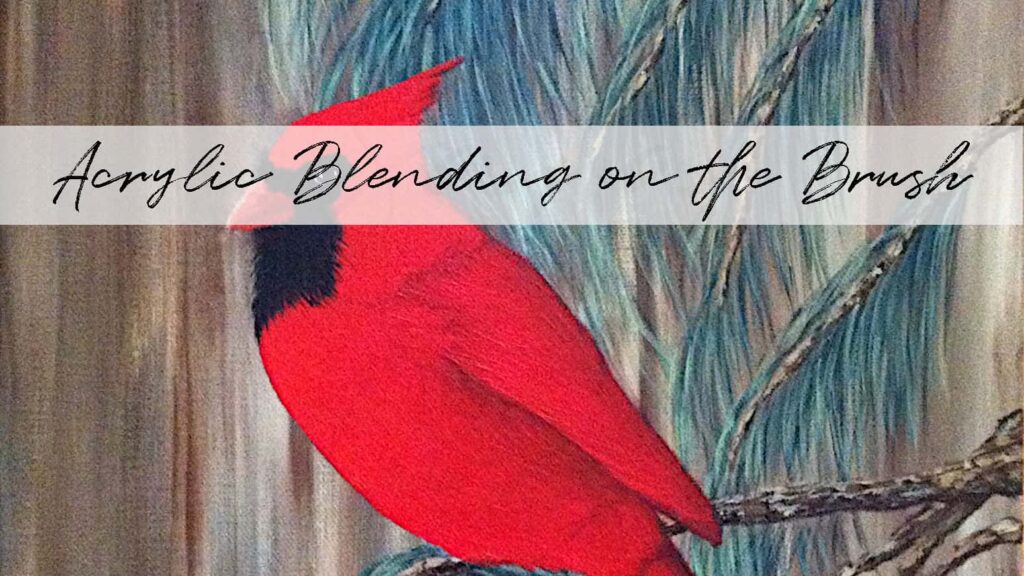
I use this method a lot! When I want to create a background where the trees are mostly hidden by fog, this is the technique I use. I also find it useful when I want to paint a wooden fence or wharf. It easily creates subtle variations in the wood without you having to try too hard. I do find it works best if you use white with your other colors.
LET’S PRACTICE!
- With your chosen paint colors, load your damp flat brush with the color that you’ve decided will be the most prominent color
- Take that same brush and dip one corner in a tiny amount of one of your other colors
- Again, take the brush and dip the other corner into your other color
- At this point, your brush should be mostly one color with a different color on each corner
- Spread the paint onto the canvas
- Once the paint is on the canvas, don’t go over it too much with your brush or you’ll just end up blending the colors together into one single color
- Every time you go back to pick up more paint, use different amounts of the colors, that you add to the corners of your brush, so you get lots of variations on your canvas
Acrylic Blending Technique #3: Dry Brushing
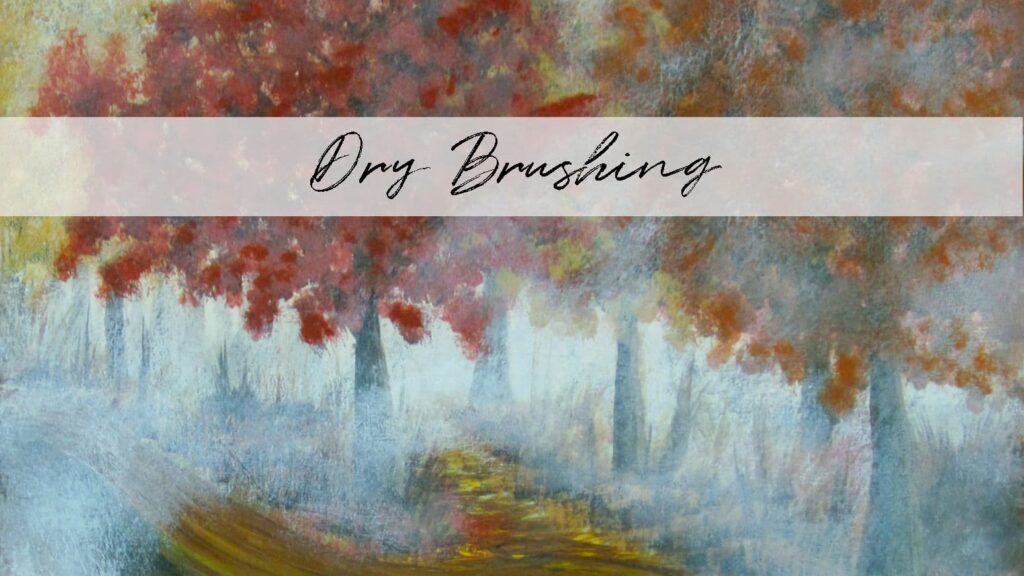
This is probably the acrylic blending technique that I use the most. When I was first learning how to blend acrylic paint, I didn’t have a lot of tools to work with so dry brushing was how I practiced. To this day, I still use the dry brushing acrylic blending method to paint subtle highlights on fur, a glow around the moon, wispy clouds, and to paint smoke or thicker fog. There are brushes that are made to specifically create this look. If you’re interested in a specialty brush, look for “cloud” brushes.
One thing to keep in mind is that whatever paintbrush you choose to use for this acrylic blending technique, it’s gonna take a real beating! By the time you’re done, the bristles will be all fuzzed out but don’t despair! Keep your newly fuzzed out brushes for future use. They’re great for painting all kinds of things. You can read more about that here.
LET’S PRACTICE!
- Paint the majority of your painting first and let it fully dry
- Take a dry paintbrush (I tend to use angle brushes that aren’t my favorite) and pull a VERY small amount of paint out and onto a dry section of your palette
- Using an old rag, wipe your brush until most of the paint has been removed
- Gently start scumbling (kind of like scrubbing) the paint onto your canvas where you want to create a subtle shift in color
- Continue the above steps until you get the look you’re going for
Acrylic Blending Technique #4: Acrylic Mediums
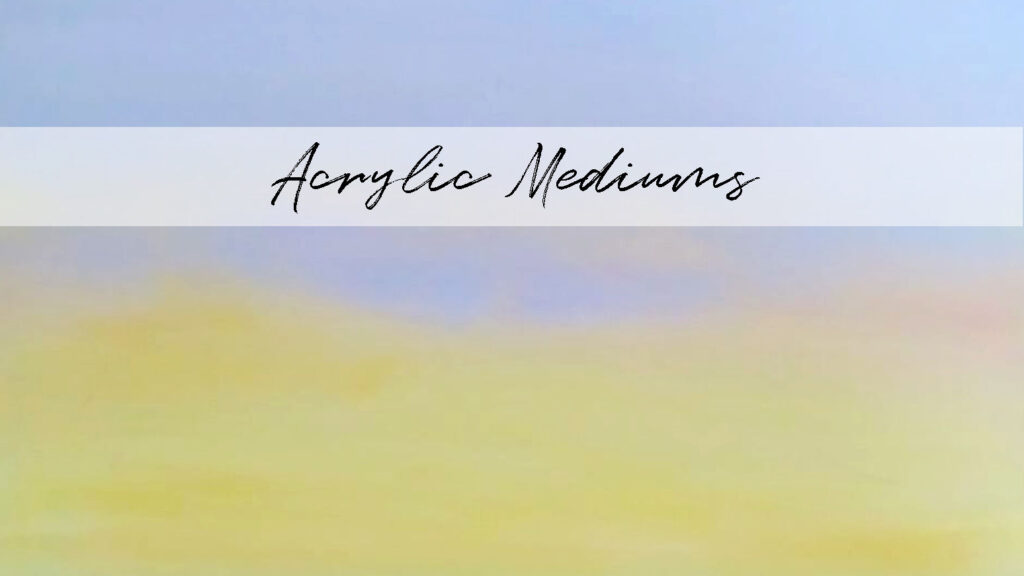
There are some acrylic mediums on the market that make blending acrylic paint a breeze. If you decide you want to invest in a medium, look for anything that says slow drying, open, extender, or retarder. Basically, you’re looking for anything that is going to slow down the drying time of your paint. Just make sure to read the labels because some of them have strict directions that you need to follow to have success. Once you’ve chosen your medium, just play with a few of your favorite paint colors, and, following the label directions, experiment with it.
To give you a starting point, here are some that you can use to help with blending acrylics:
- Golden Glazing Liquid – This is the one I use and I love it! Not only is it great for creating subtle glazes, but it also extends the drying time of your paint. This product goes on looking quite milky but it dries clear and glossy. Once you varnish your work, you won’t be able to see the difference in sheen between the paint you use with the glazing liquid and without
- Liquitex Slo – Dri Medium – It claims to slow the drying time of your acrylic paint by 40% and to soften edges of paint, creating better blends
- FolkArt Extender – If you’re not sure whether you want to invest in an acrylic blending medium, this would be my go-to because you can get a smaller size than the other two listed above
YouTube Recommendations

These are a couple of my favorite YouTubers who show you how to blend acrylic paint and it’s a great place to start. The Art Sherpa shows you six different ways to do acrylic blending and ColorByFeliks shows you his most successful way of blending in a detailed tutorial. Make sure to give all of the techniques a go so you can learn which acrylic blending method works best for you.
- How to Blend Using Acrylics – ColorByFeliks
- How to Blend Acrylics Like Oil 6 Easy Ways – The Art Sherpa
Don’t let acrylic blending intimidate you. You have lots of options when you want to blend paint and there’s bound to be a technique that really helps you out. If you keep practicing and learning, I see lots of beautiful sunsets in your future! Let me know in the comments below, do you find any other painting technique as frustrating as blending?