Meet the Author

Artist | Owner of Squishing Paint | Educator - Sara brings over 40 years of creative experience, a decade of specializing in acrylic painting, and a passion for guiding new artists as they embark on their own artistic journeys


When I first started painting, I had no clue that there were a ton of small details that could make a big impact on my paintings. As a beginner acrylic painter, you just want to dive right into the fun and let the paint fly, am I right?! But then you notice a lot of little issues starting to crop up making what is supposed to be a fun and relaxing adventure into a frustrating and annoying nightmare. Let’s take a look at my top tips that will save you a huge headache so you can just get busy creating!
10 Tips To Help You Succeed As A Beginner Acrylic Painter
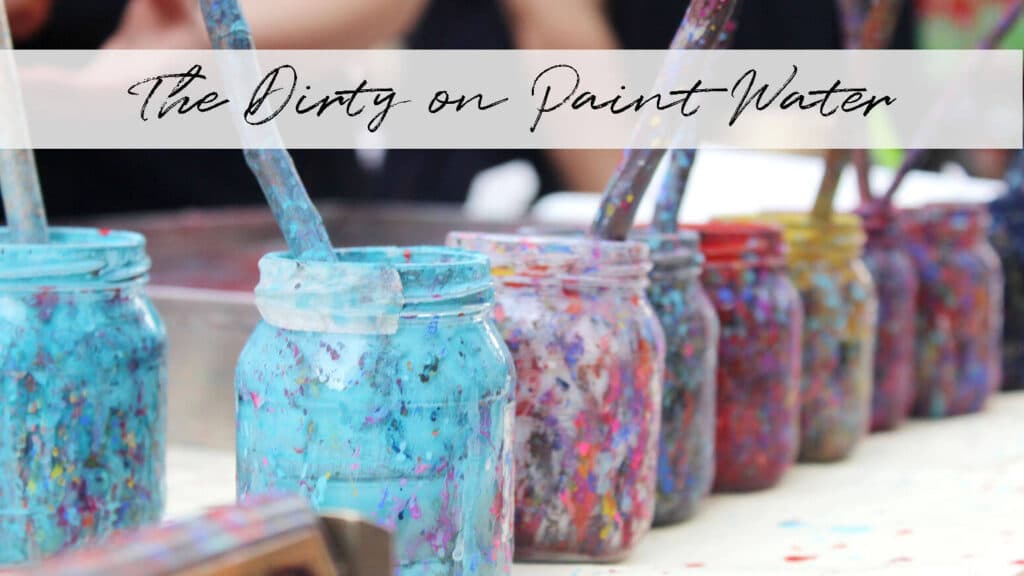
Tip #1: Dirty Paint Water
Most beginner acrylic painters have no idea that dirty paint water can affect how your paint looks on the canvas. Dirty paint water is full of different pigments that were trapped inside the bristles of your paintbrush. When you wet a new paintbrush, some of those pigments get picked up and then mix with whatever color you’re using. Having a few jars of clean water handy to rinse your brushes between uses is essential to keep your whites crisp and your colors bright.
TIP #2: Paint Brush Bristles are Falling Out
The bristles of a paintbrush are typically held in place with glue and then the ferrule (metal part) is crimped to keep things snug. You only need warm water, mild soap, and patience to deep clean your brushes.
And, for the love of fairies and glitter, don’t leave your brushes sitting in water for too long! It can cause the same issue. There is nothing worse than being happily immersed in a painting and then noticing tiny bristles stuck in the paint. Those little suckers are hard to remove!
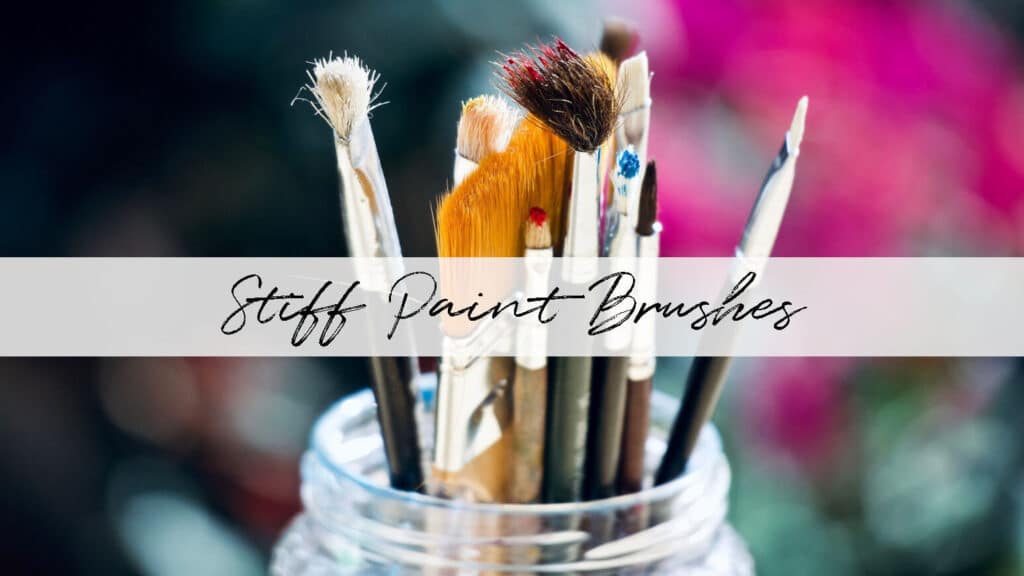
TIP #3: Dried Paint in a Paint Brush
We’ve all been there, you’ve been really careful to rinse your brushes between use, you’ve reshaped the bristles and you’ve laid them flat to dry. You go to use your favorite brush and…..it’s as stiff as ‘80s hair drenched in a full can of Aqua Net! DON’T PANIC!
Put some rubbing alcohol in a jar lid and CAREFULLY swish your brush in the alcohol, making sure to not submerge the metal part. Do this until you can feel the bristles become pliable again and then rinse well with water.
With this technique, CAREFUL is the keyword! Too much alcohol use can cause the glue that holds the bristle in place to disintegrate which would be baaaadddd. Just remember, less is more and it may take a few tries to get your brush back in working order. Slow and steady wins the race!
Psst! Don’t know which brushes you should buy? Take a look at my ultimate guide to choosing acrylic paint brushes.

TIP #4: Tracing Paper Alternative
Most beginner acrylic painters think you need to have all of the things but that really isn’t true. Parchment paper, also known as baking paper, can be used in a pinch to trace images to transfer onto canvas. Parchment paper is quite a bit more slippery than tracing paper so make sure to use a stronger tape than painter’s tape to keep things from sliding around. I’ve had luck using scotch tape and using my free hand to keep the paper steady.
TIP #5: DIY Lightbox
You can easily transfer an image onto tracing paper using a well-lit window. Tape your image to the window and then tape your tracing paper, or parchment paper, over it. Works like a charm!
TIP #6: Best Tool for Transferring and Sketching on to Canvas
One thing I suggest to a beginner acrylic painter is that they invest in a set of watercolor pencils for freehand sketching or tracing. Since they are water-soluble, they will blend right into whatever paint color you use to cover the pencil marks and if you want to change the image a bit, you can always “erase” the lines with a bit of water. Just let it dry and then sketch the lines back in! I also like using them when I have to do painted lettering. I find it much easier to trace the letters with a paintbrush instead of winging it.
TIP #7: Scruffy Paint Brush Hack
You know those brushes where the bristles are all splayed out and look like they’ve gone a couple of rounds and didn’t win the match? Those are the perfect brushes for so many different elements! They work well for painting fur, grass, seafoam, clouds, etc. Basically, anything that needs to look a bit disorganized to look natural. Plus, the more you scruff them up, the better they work!

TIP #8: Canvas Alternative
Most beginner acrylic painters don’t want to spend a ton of money on painting tools when they’re first starting. Depending on where you get your canvases, they can be expensive but you can save your cash by using the inside of a cereal or cracker box as a canvas. Just keep in mind that you may have to wet your brush a bit more often or you could use gesso if you have it on hand.

TIP #9: How to Stop your Paint from Drying Out
One issue I hear a lot from beginner acrylic painters is that their paint dries out before they can use it. Living in a dry climate, running a fan or a heater, or just taking your time when painting, are all reasons why you might be finding that your paint is drying on your palette before you’re done your project.
To slow the drying process down, have a spray bottle, filled with water, handy and mist your palette every once in a while. Be careful to not do it too much, though, because that can break down the binders in your paint which will not make you a happy camper.
TIP 10: Save Time Between Layers
If you want to finish your painting quickly, use a hairdryer to dry the paint on the canvas. Make sure to use it on the coolest setting, don’t hold it too close to the surface, and keep it movin’. You don’t want to burn the paint so use continuous sweeping motions until the paint turns matte instead of glossy. This will save you a ton of time!
There you have it, my top ten tips for beginner acrylic painters! I hope this helps solve some of the mysteries that have been making you pull your hair out. If you’ve tried any of these tips, leave me a comment below and let me know which one. And, for even more tips, geared to save you moolah, check out my money-saving tips for painting supplies!