Meet the Author

Artist | Owner of Squishing Paint | Educator - Sara brings over 40 years of creative experience, a decade of specializing in acrylic painting, and a passion for guiding new artists as they embark on their own artistic journeys


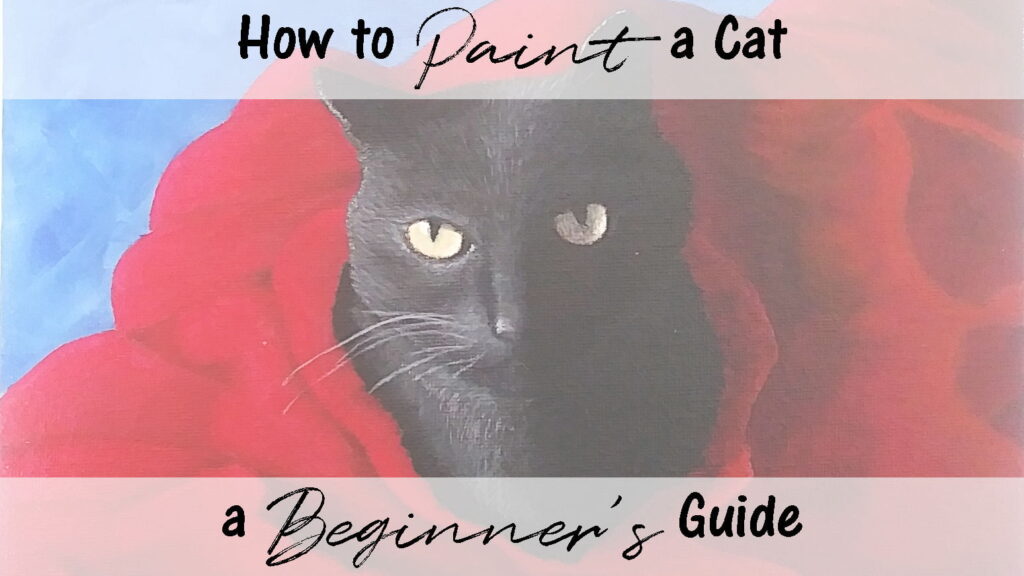
If you’ve ever wanted to learn how to paint a cat, I’ve got some great tips for you! In my years of painting, I’ve done a few cat portraits and I’ve learned some things through a lot of trial and error.
People see their pets as part of the family so when you paint a cat, whether it’s your own or someone else’s pet, detail is going to be important. Most pet owners know every single detail of their furry friend and will be able to spot any differences faster than you can yell “artistic freedom!”. That’s why I’m sharing with you some of the most important things to consider when you paint a cat. Let’s get started!
How to Paint a Cat: A Beginner’s Guide to Success
Painting From a Photo
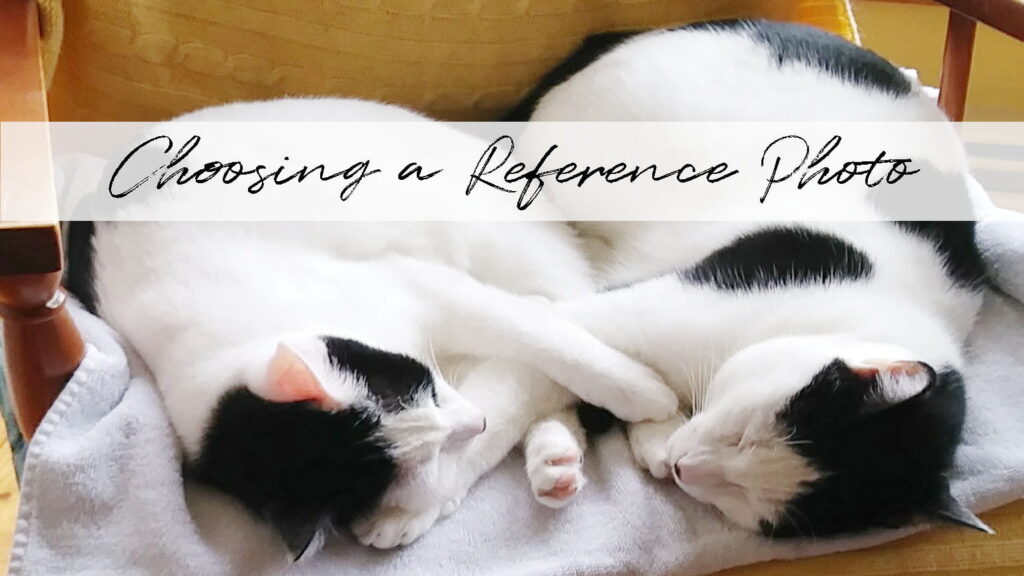
Your reference photo is going to be really important so choose wisely! There’s nothing worse than trying to recreate every small detail but the photo is blurry, overexposed, or underexposed. So, to make things easier for you, I’ve listed what I look for in an image when I’m painting a cat portrait.
TIPS:
- Clarity – You want to look for nice clean edges around the body, any patterns within the cat fur, the ears, the eyes, and the nose. If you’re trying to paint a cat realistically, you have to be able to see all of the fine details
- Size – Try to get a large photo or at least one where the cat fills most of the image. It’s no fun trying to paint details of an animal from a 4×6 photo when the cat isn’t front and center
- Lighting – it’s very difficult to paint a cat from a photo that is over or underexposed. Look for photos that have a clearly defined light source
- Pose – This is going to be dependent on what you want the focus of your painting to be. If you really want to focus on the cat’s face, choose a close-up photo. If you want to make the main focus all about the cat’s body, choose a full body photo. Keep in mind, if you paint a cat in full, you’ll want to think about what else to add to the painting so your cat doesn’t look like it’s just floating on the canvas
- Greyscale – When I paint a cat portrait, I always edit the reference photo and print a copy in greyscale. I find it much easier to see the subtle differences in light and shadow, especially in the cat fur, if the entire photo is in different shades of grey. You can use pretty much any photo editing software to do this
Cat Fur
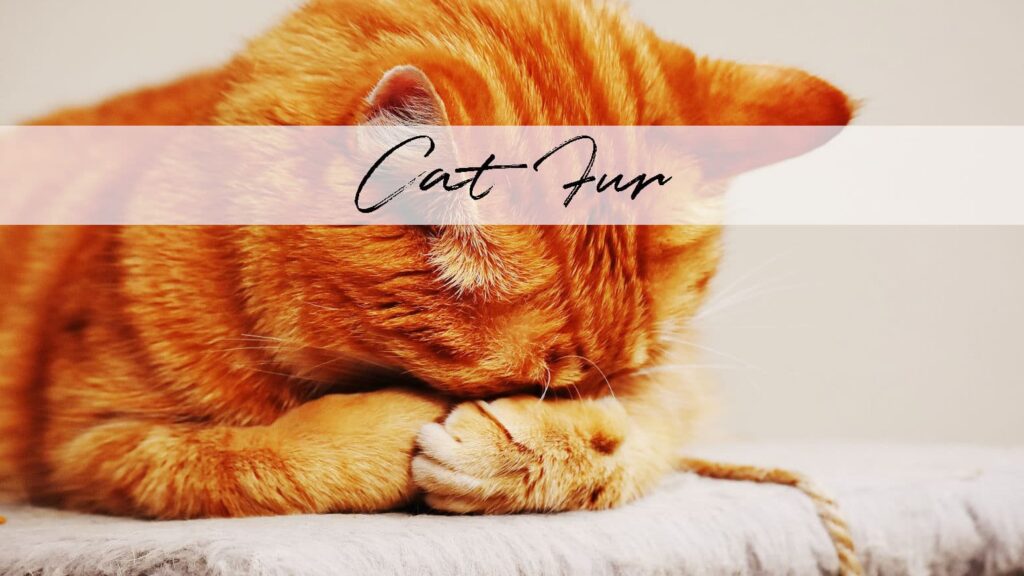
Painting cat fur looks complicated but is actually pretty easy to do. You just have to keep in mind that, even though cat fur looks a certain color to the eye, it has many different shades within it. This is why shadows and highlights are so important. If you were to paint a cat just plain black, it would look very flat and I don’t think you’d be very happy.
TIPS:
- Undertone – Take a close look at the cat fur in your reference photo. Depending on how much light is in your photo, you may notice that white fur looks more cream-colored in spots. Or, if you paint a cat that has black fur, you may see subtle hints of dark brown. This is going to give you a clue to what paint colors you’ll be using. It’s never one color straight out of the tube. Mixing your own colors creates more depth and life to your painting
- Highlights and shadows – Highlights are lighter, of course, but they’re usually also warmer in tone. Shadows are darker but cooler. When you’re choosing your undertone colors, take a look at your paints and see if you can find a warm tone and a cool tone. For example, maybe you want to use unbleached titanium (or any warm cream color) for white highlights and try mixing a blue with your white to create a cool shadow color. With black, try mixing in some warm brown for the highlight and a cool brown for the shadow
- Your highlights are where you’ll really be able to see the details in the cat fur so be aware that you’ll be creating many layers of highlights. The more realistically you want to paint a cat, the more layers you’ll need to do
- Length – The length of the fur will be determined by your brush strokes. The longer you make your brush strokes, the longer the fur will look
- Paint Brushes – You can buy fancy brushes to paint fur, like a rake brush, but I like to use my old beat up angle brushes that have bristles all splayed out. These brushes look like they’ve been stuck in a light socket but they’re perfect for creating natural looking fur! With one gentle little flick, you can get a whole bunch of individual hairs. If you’d like to get a closer look at the brushes I use, check out my article with tips for beginners here
TUTORIAL HELP:
Articles Related to Painting Fur:
Cat Eyes
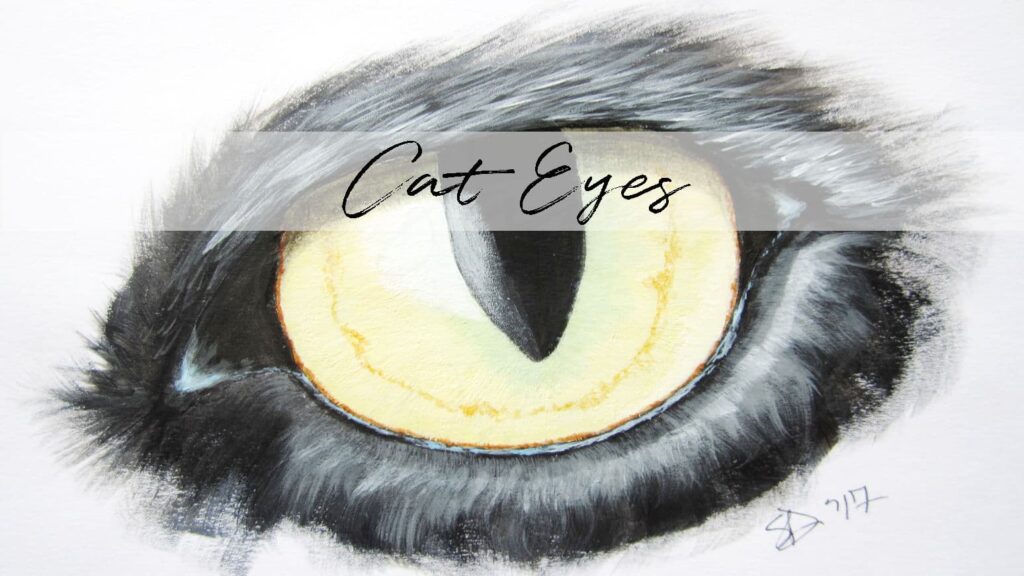
In my opinion, the eyes are the most important element when you paint a cat. They are where the personality and soul of your fur friend shine through. When I paint a cat portrait, I spend the most time and include the most detail, in the eyes.
TIPS:
- Colors – When you paint a cat, you’ll notice that its eyes have many different colors in them. Golden eyes can have different shades of orange and yellow. Bright yellow eyes can have bits of pale green in them. Including these colors in the eyes will help to make your painting unique to the cat
- Depth – I always paint the eyes in greyscale and then use a thin wash of color over them as a glaze. It creates an unreal depth!
- Shadows and highlights – Eyes are orbs, so, you want to remember that for every primary highlight, there will be a secondary highlight on the opposite side. This secondary highlight is more muted and is actually a reflection of the primary highlight.
- Make sure to include a slight shadow near the top of the eye to create the illusion of an eyelid.
- If you don’t have any glazing liquid, lightly dry brush your shadows. If you use too much paint you’ll end up having to start over. Less is more!
TUTORIAL HELP:
Full Tutorial Recommendations
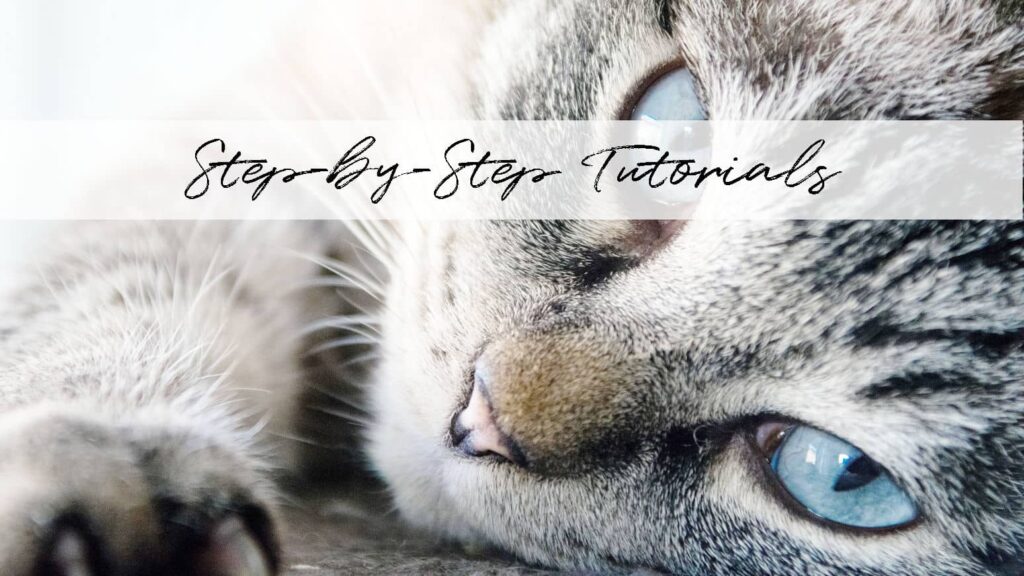
If you’ve never tried to paint a cat, I highly recommend heading over to YouTube and checking out some step-by-step tutorials. There are a gazzillion of them so I’ve compiled some of my favorites that I’ve found really helpful but also really fun!
- Painting Your Cat in Acrylics – Lauren Elizabeth Animal Art – A funky little kitty using bright colors and loose brush strokes
- Le Chat Noir Step by Step Acrylic Painting on Canvas for Beginners – Painting with Jane – Relax and have fun with this super easy painting of a black cat
- How to Paint a Black Cat with Monarch Butterfly – Angela Anderson – This tutorial gets you up close and personal with a cat’s face so you can really practice eyes and ears. Plus, it’s super cute!
- PAINT YOUR PET PARTY from your own photo tutorial – The Art Sherpa – A great tutorial if you’re wanting to paint a cat from your own pet’s photo
- Easy Cat Painting Lesson for Beginners – Clive5Art – A beautiful painting of a black cat on a black canvas
Final Thoughts
If you’re jonesing to paint a cat, don’t let it intimidate you. Just be prepared to spend quite a bit of time on your cat portrait because, the more detail you add, the more realistic it will be. Take it one step at a time, one element at a time, and keep practicing. Just like anything else, the more you practice and learn, the better you’ll get.
Got a funny cat story? Tell me about it in the comments below!