In This Article...
- Paint a Heart Ornament For Your Valentine
- Why Painted Crafts are an Important Part of Your Art Journey
- Making the Heart Dough Ornament
- Painting Your Valentine’s Day Ornament
- Design Ideas for Your Painted Heart Ornament
- Wrapping Up Our Valentines Art Project
- If You Paint a Heart Ornament, Let Me Know Which Color Combination You Decide To Use
Paint a Heart Ornament For Your Valentine
Today, I’m going to show you how to paint a heart ornament that makes a super fun heartfelt keepsake! This art project uses popular pantry ingredients that you may already have on hand, is easy, and fast.
This creative painted heart ornament is a great alternative for the regular paper valentines that kids give out to their friends because you can keep these for a very long time and always have a reminder of how somebody thinks you’re pretty darn special.
It’s a fantastic activity for young ones as a Valentine’s Day party activity (with adult supervision, of course). Or, plan a dinner out with your besties and give them a little something that lets them know how much you appreciate them.
Okay, enough with the warm and fuzzies, let’s do this!
Why Painted Crafts are an Important Part of Your Art Journey
First, I’m sure you’re wondering why a Valentines ornament craft is on an acrylic painting blog.
As an artist, it’s important to experiment with different mediums so you can learn how the paint reacts when using them on different surfaces.
You could absolutely use more traditional methods to experiment and practice. However, creating something that has a purpose (such as decorations, home décor items, or even gifts and cards) allows you to be free of guilt about using your paint on something other than a traditional painting.
Many times, when artists try new mediums and techniques, they create something that is never intended to be seen by anyone. But, if you’re on a budget and you’re trying to make the most of your painting supplies, crafting is a great way to practice and experiment.
When you paint a heart dough ornament, you’ll be practicing and learning:
- Coverage and ease of use of your paint (does it take more paint than usual? Does it create more brush strokes? Is it streaky? Etc.)
- If you need to use more water or a medium to get good coverage
- Practicing different brush strokes to paint designs on your heart ornament
- Adding glitter or other additives
- Using varnish
I kept my ornament simple but if you want to paint a heart with lots of detailed designs, I’ve got a few ideas to share later in this post!
Making the Heart Dough Ornament
Before we get to paint our heart-shaped ornament, we have to actually make it. Luckily, this is a super simple process and really doesn’t take too many ingredients.
The number of ornaments you’ll end up with will depend on the size of your heart-shaped cookie cutter. With the heart cookie cutter I used, I ended up with 34 dough ornaments.
Materials List for Dough
- A large bowl
- Rolling pin
- Mixing spoon
- Heart-shaped cookie cutter
- A plastic drinking straw (or anything that is round in shape and about the same circumference like a pencil or pen)
- Measuring cups
- All-Purpose Flour
- Salt
- Water
Dough Ingredients
- 2 cups of All-Purpose Flour
- ½ cup of salt
- ¾ cup of water
Recipe Directions
- Preheat oven to 350F
- Combine all ingredients in a large bowl, stirring until the water is incorporated
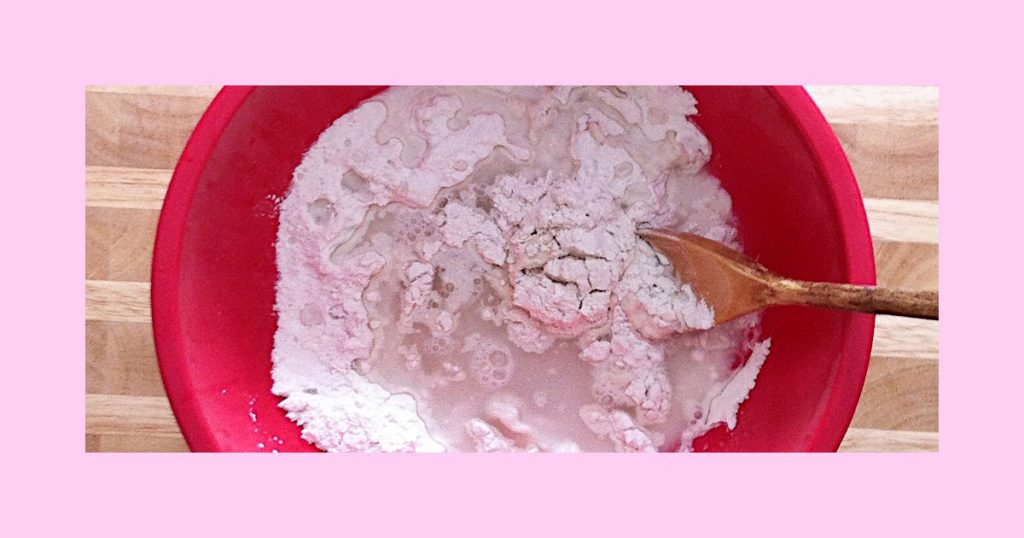
- Get your hands in there and knead the ornament dough until it’s smooth with no chunky bits
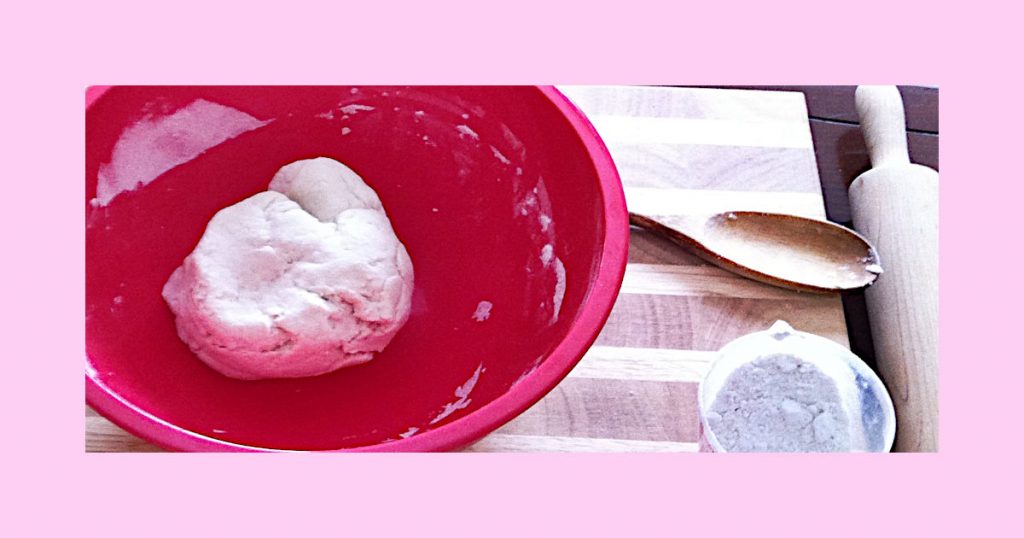
- Sprinkle flour onto a work surface and roll out the dough until it’s about 1/8” thick (you want the dough to be thin so that they will harden all the way through. If they are a bit thicker, you’ll just end up with puffy ornaments that may have some cracks in them. I don’t mind this as I think it just gives the ornaments a more rustic feel)
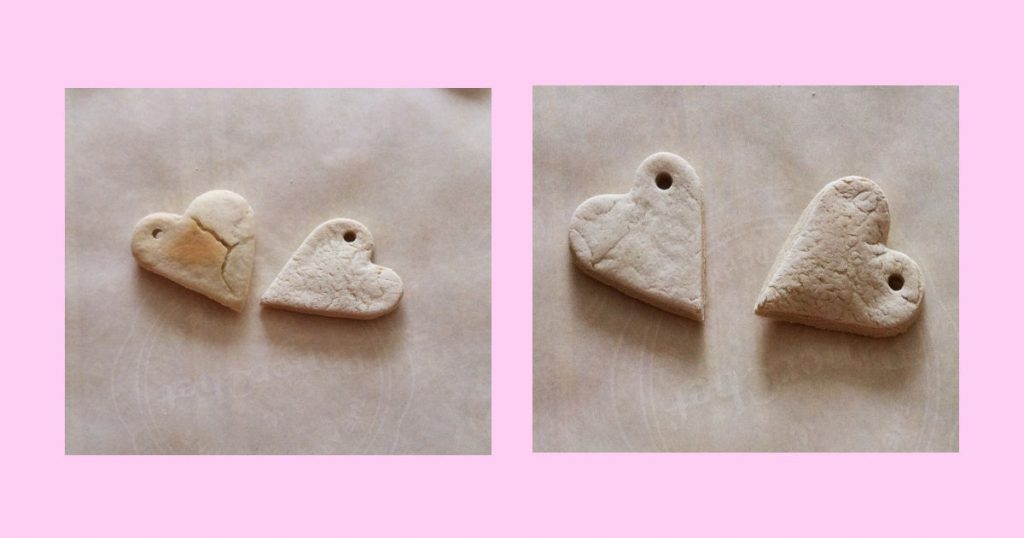
- Once you’ve got your dough rolled out, go ahead and start using your heart-shaped cookie cutter and make as many hearts as you can
- Carefully transfer the ornaments to a parchment-lined cookie sheet and grab your straw (or straw substitute) to make the holes where the string or ribbon will be strung for hanging
- First, decide if you want a right or left leaning heart or if you want it to hang straight up and down (if you place the hole on the right side of the ornament, it will hang to the left and a hole on the left side will cause it to hang leaning to the right)
- Make sure to place the holes far enough away from the edges of the ornament so that the space between the hole and the edge stays nice and strong (make sure that you get all of the dough out of the hole so that you don’t have to worry about removing the hard dough once it’s been baked)
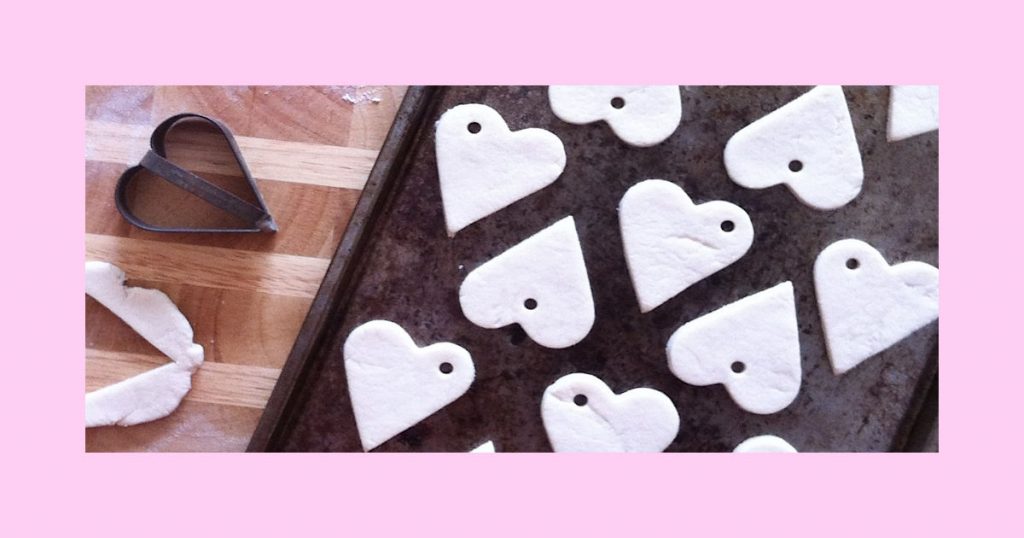
- Put the ornaments in the oven for about 30 mins (the time it takes to bake them will vary depending on how thick you’ve made the ornaments and your oven)
- Keep an eye on them to make sure they don’t burn
- You’ll know they are done when they are hard as rocks with no give when cooled (if they seem a bit squishy, just put them back in the oven for a few more minutes)
- Allow your ornaments to completely cool before moving on to the fun part!
Painting Your Valentine’s Day Ornament
Materials You’ll Need
- Acrylic Paint (Any colors your heart desires!)
- Paintbrushes:
- Flat or angle brush to paint the entire heart ornament
- Assorted detail brushes (if you want to add designs)
- Jar of water (for cleaning the paint out of your brushes)
- Paper or Styrofoam plate (to put your paint on)
- Paper towel or old rag
- Paint Pens (if you plan to write on the ornaments)
- Glitter (optional but oh, so fun!)
- Varnish (if you want to add glitter use a brush-on varnish in whatever sheen you want)
- Ribbon or String
This is where you get to have fun and decorate your ornament however you choose but I’ll just tell you what I did to give you a jumping off point.
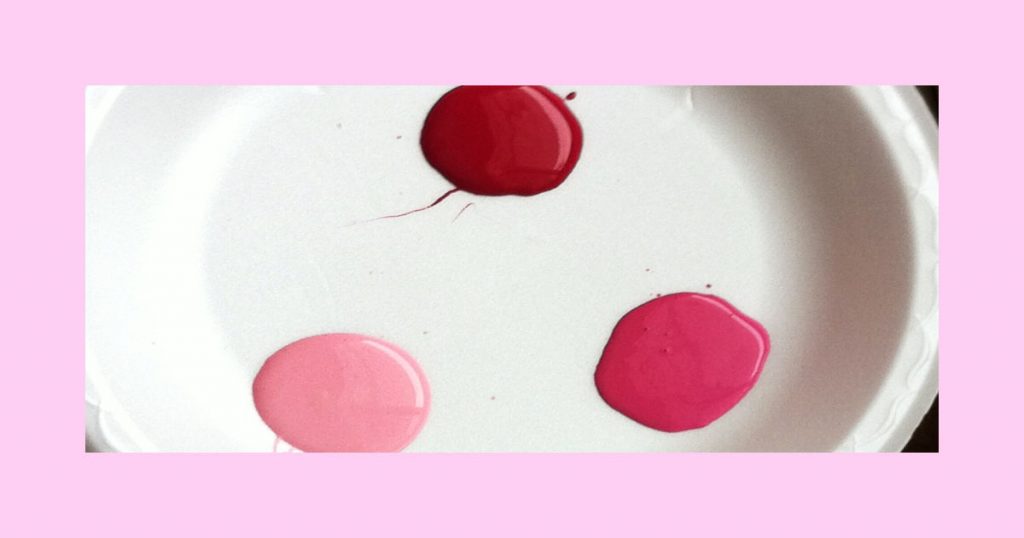
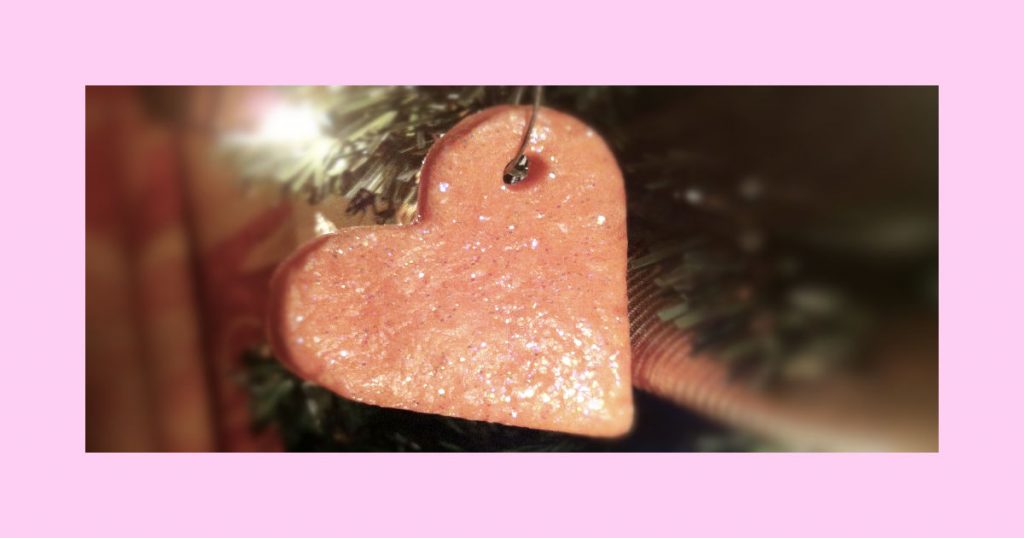
I wanted to paint a heart ornament that was simple, used traditional colors, and had lots of sparkle and shine so it would catch and reflect light. I ended up liking the first heart ornament so much that I painted all of the rest the same way!
First, I chose three different shades of pink and painted all sides of the ornament with two coats of paint.
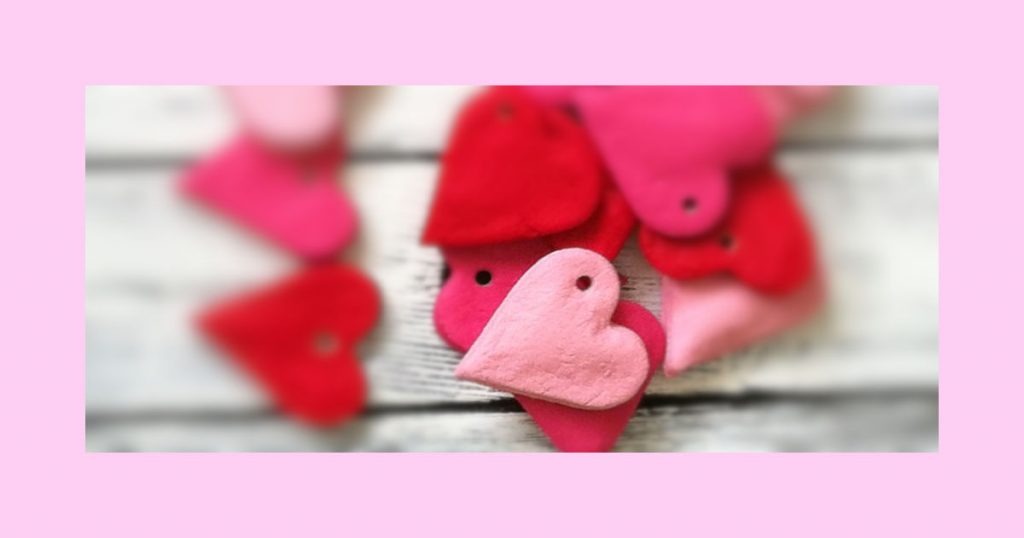
Because I ended up with so many ornaments, I added some ultra-fine iridescent glitter to some high gloss varnish and painted two coats on half of the finished ornaments. For the other half, I used a mixture of large silver glitter and high gloss varnish.
After everything was nice and dry, I used ribbon and embroidery thread in coordinating colors to string them. And that’s it!

Design Ideas for Your Painted Heart Ornament
Even though I chose to paint all of my heart ornaments the same, this Valentine’s Day art project can be as simple or intricate as you want!
Here are some design ideas that you can use to decorate your heart:
- Stripes
- Polka dots
- Scrollwork
- Paisley
- Paint a heart on the heart
- Miniature romantic scene
- A swirl design
- “X” and “O” design
- And, here are some free images of heart flourishes for even more inspiration
If you want to use a more unique color palette to paint your heart dough ornament, here are some color combination ideas you may like:
- White + Cream + Pale Pink
- Metallic Gold + Pale Color of your choice
- White + Black + Bright Red
- Turquoise + Lime Green + White
- Light Purple + Dark Purple + Cream
Wrapping Up Our Valentines Art Project
As you can see, there are a lot of skills that you can practice when you paint a heart dough ornament.
From experimenting with painting on an unusual surface to practicing different brush strokes, playing with paint while crafting has an important place in your art journey. Plus, it’s just plain fun!
Valentine’s Day doesn’t need to be about cards, flowers, and chocolate…although, if I ever refuse chocolate, get me to an emergency room STAT because something is definitely wrong!
Have fun and celebrate your friends and family with a handmade Valentine’s Day keepsake because the best celebrations happen when you use your creativity.
If You Paint a Heart Ornament, Let Me Know Which Color Combination You Decide To Use
More Design Help for Your Valentine Heart Ornament
- How to Paint Stars and Snowflakes
- Blending Colors for a Gradient Effect
- Valentine Painting Tutorials to Paint as Miniatures on Your Heart Ornament

Meet Sara, a seasoned veteran in the world of art. With a knack for mixing paints to unveil breathtaking new hues, she’s adorned countless commissions and independently captivated art enthusiasts with her creations. Having spent over a decade immersed in the realm of art gallery management, Sara’s insight into the intricacies of the art scene shines through her work.
But don’t let her impressive résumé fool you – Sara’s approach to art is as lively as her palette. Known for her wit and humor, she infuses her passion for painting with a playful spirit, making every stroke a delightful adventure. As a dedicated mentor, she’s committed to guiding her fellow artists towards success, always staying ahead of the curve with the latest techniques and trends.

