Meet the Author

Artist | Owner of Squishing Paint | Educator - Sara brings over 40 years of creative experience, a decade of specializing in acrylic painting, and a passion for guiding new artists as they embark on their own artistic journeys


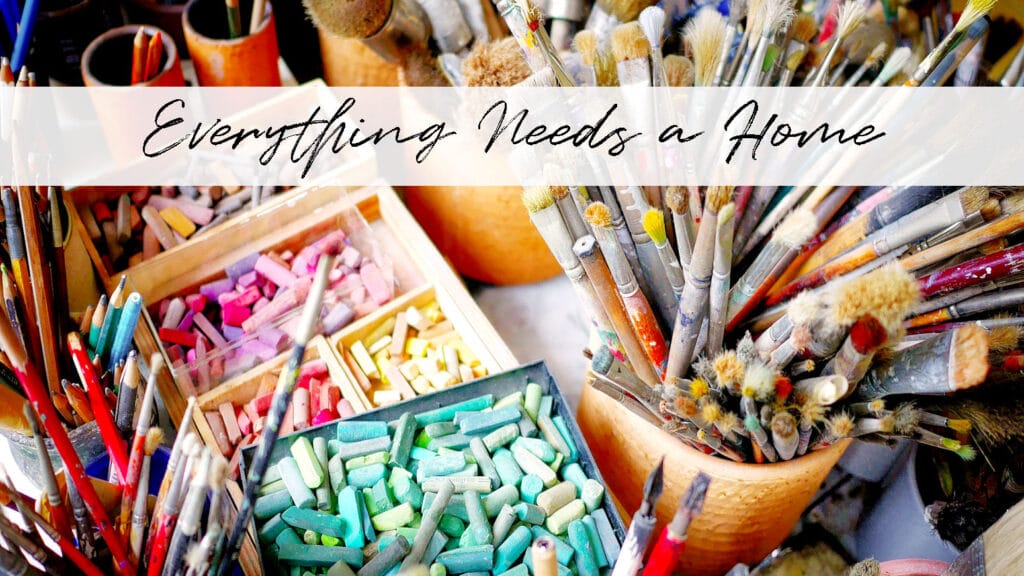
As art maniacs, our spaces can get really cluttered with art supplies, especially when we’re in the “zone”. The last thing we’re thinking about is organizing art supplies, we have to strike while the iron is hot, am I right?! But, nothing kills the creative flow faster than tearing your art space apart looking for that one thing that you NEED RIGHT NOW!
My family knows to head for the hills when I’m in the trenches of organizing lest they accidentally get hit with some type of flying object (sorry, guys, I love you!) and so, for everyone’s safety, I’ve found some simple ways to keep neat and tidy. I promise, organizing your art supplies doesn’t need to be expensive or a pain in the ……well, you know. Here we go!
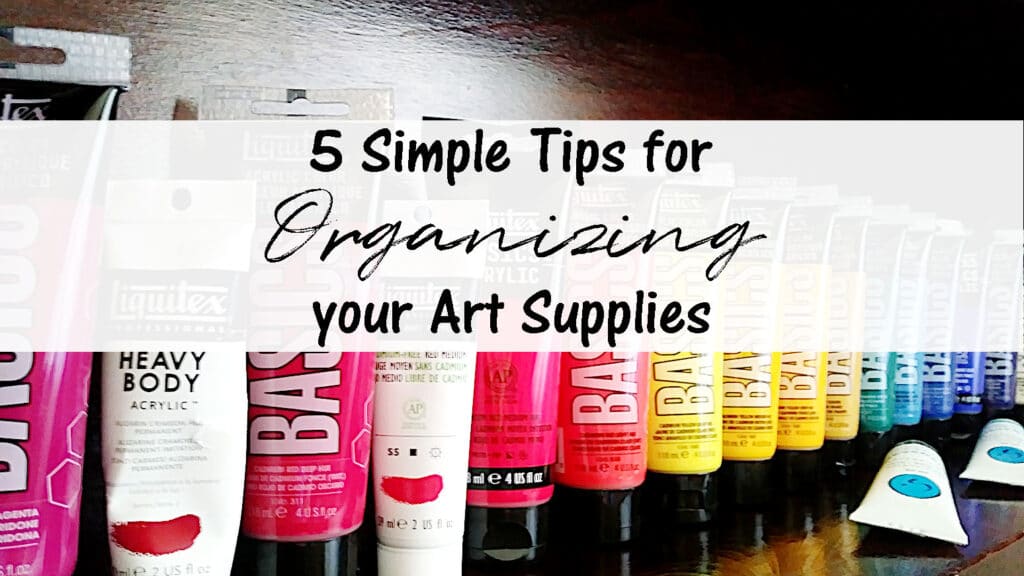
5 Simple Tips for Organizing your Art Supplies
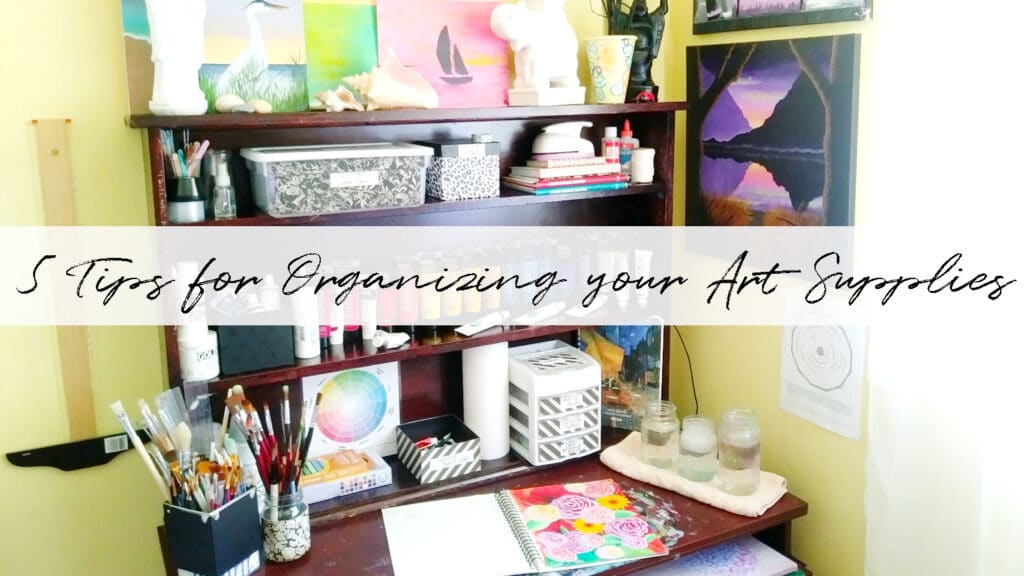
TIP #1: Eye Level is Best
If you’ve been arting for any amount of time, I’m sure you have lots of tubes, samples, cans and other containers for your paints. With so many choices, some of your beautiful and unique supplies can be neglected and end up in the far reaches of Narnia! Enter, a desk (or wall) mounted shelving unit.
Try putting a bookshelf on top of a desk or mount one on the wall behind your desk and fill it with your art supply collection. To get the most out of organizing your art supplies, arrange your stash so that your most used items are front and center and at eye level. Put the less commonly used supplies into boxes with labels so you can see right away where everything is. The main goal is to be able to see everything you have.
Bonus Idea:
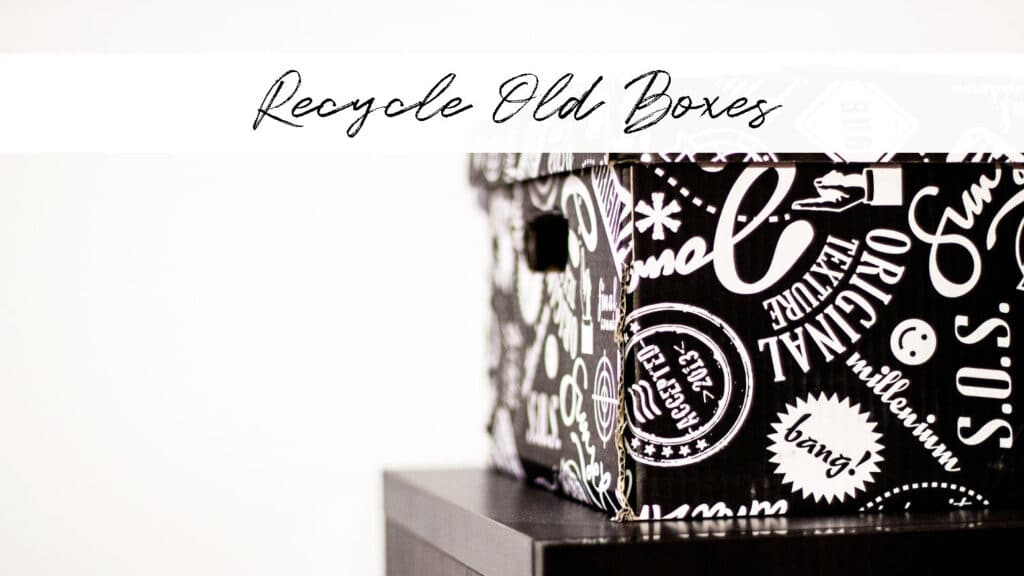
If you don’t want to buy boxes and are looking for ones that are fun and won’t make your art space look like a shipping warehouse, look in your cupboards! Cut any boxes you have (shipping boxes, cereal boxes, etc.) down to the size you need. Then, you can either paint them or cover them with gift wrap, shelving paper, wallpaper, etc.
Tip #2: Storage Containers with a Twist
*sigh*… Brushes, chalk, watercolor pencils… It’s like they spontaneously multiple when you’re not looking. We hoard them like the apocalypse is coming and the new currency will be art tools (I’ll be rich for the first time in my life!). What if you need that dried-up marker to color match? That down-to-the-nib pencil that just makes the best shading? Or that raggedy old brush that looks like it’s got a serious case of bed head…..
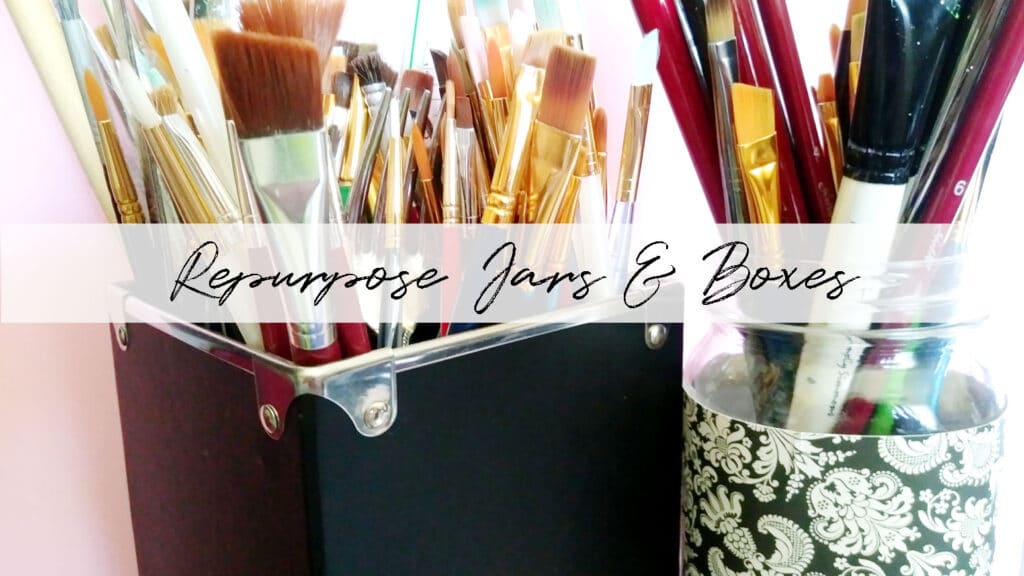
To deal with this self-inflicted situation, keep things organized and convenient by using fun mugs and/or vases placed on your desk. To be even more organized, use a different container for each type of tool; sketching pencils in one, colored pencils in another, brushes have their own place, you get the gist.
Bonus Idea:
Another tip for organizing your art supplies is to re-use clean soup cans, mason jars, etc. Just like with the boxes, you could leave these as is or paint/paper them to keep your art space looking tidy and interesting.
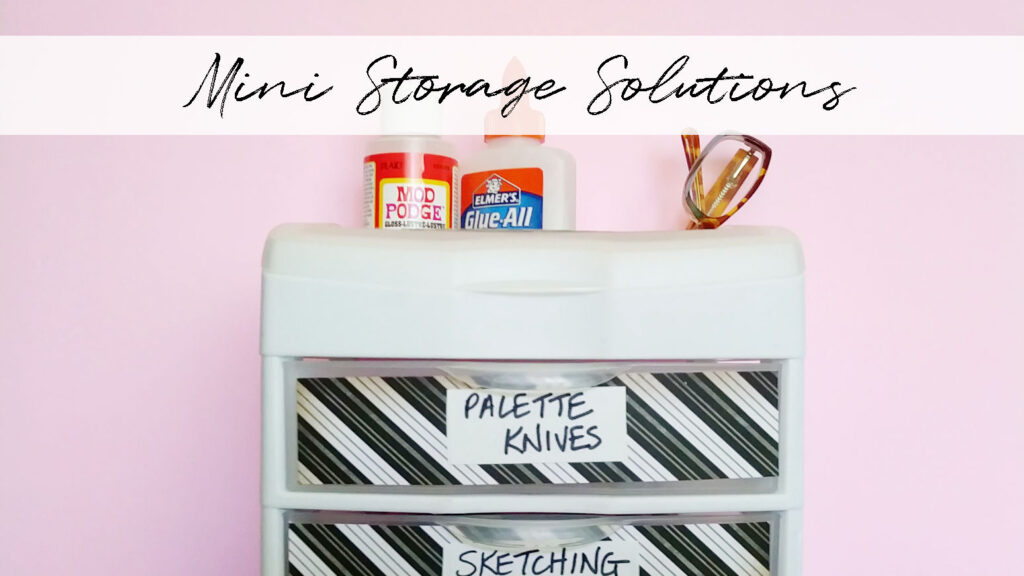
STEP #3: Contain the Doodads!
I’m betting you have a bunch of doodads, doohickeys, and thingamabobs. Those little bits and pieces of thingies that you use a lot, but end up being moved from place to place and never really find a home (I’m lookin’ at you, eraser and sharpener).
Invest in a small tabletop set of drawers. You can find these just about anywhere, usually on sale, and they are a perfect addition when organizing your art supplies. You can spray paint it with plastic paint, or you could cut and paste cardstock paper onto the drawer fronts and use labels so that it looks neat but you can still easily find what you’re looking for. This one has little open compartments on the top, which I love because I never lose my reading glasses…. unless I forget to take them off the top of my head…..
Bonus Idea:
You could buy a few inexpensive stackable baskets from your local dollar store and label them. Or, if you have school-aged kids, you may have a slew of old pencil cases or an extra lunch box laying around, which would both make excellent storage solutions.
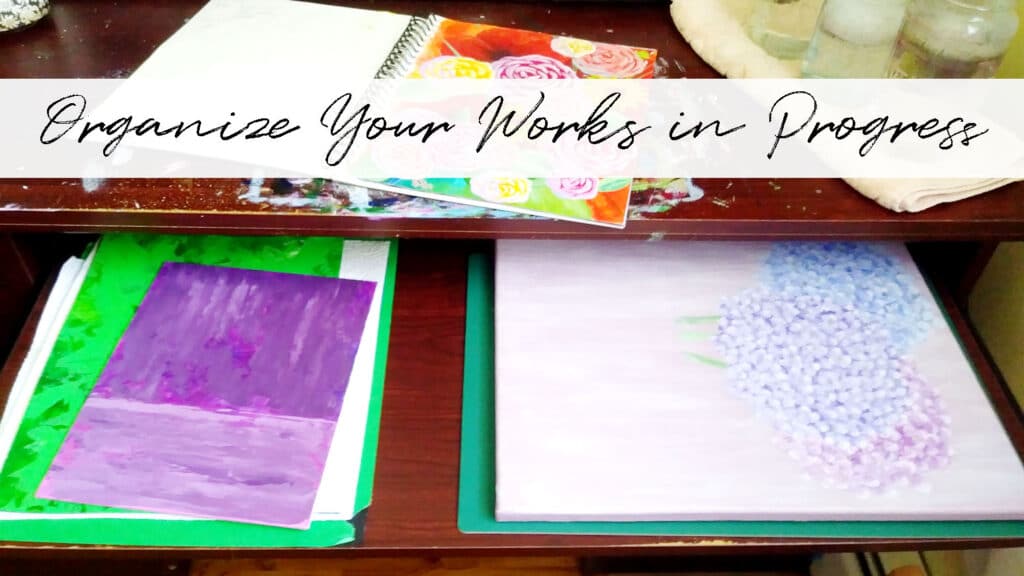
TIP #4: Organizing your Artwork
Okay, how many of you have multiple projects on the go? *lowers head and slowly raises hand* I try to limit my WIPs (works in progress) to no more than five. In my experience, less is definitely best or I get overwhelmed and they’ll sit there forever, unfinished and lonely, singing sad love songs and staring longingly out the window.
Enter a second-hand computer desk! You can find these at garage sales or used furniture stores for a decent price. It has a large enough surface that you can fit a tabletop easel onto it without having to move things around. If you’re not painting on canvas, you’ll have a nice place to sketch or practice techniques in an art pad. Plus, the slide-out keyboard drawer is the perfect spot to keep those WIPs close at hand!
Bonus Idea:
If you don’t have a designated room for arting and you’re doing everything at your dining/kitchen table, don’t despair, you still have options for organizing your art supplies. Plastic carts on wheels, spray painted in a coordinating color, will give you an entire art area without it taking away from your décor. And, you can easily roll them into another room when you’re entertaining guests.

Tip #5: What to do When you Buy all the Things!
The paint supply addiction is for real, people! You enter the art store and they’re having a sale *insert angels singing here*! The problem is that you don’t have the room for all of the pretties and you have to stuff things into every single nook and cranny, which makes you feel like you’re taking your life into your own hands every time you reach for a new canvas! Again, containers are going to be your best friend in this situation.
Buy a reasonable amount of stackable containers or boxes (reasonable being the keyword). Label each container with the contents and only buy what will fit into the container. Once it’s full, NO. MORE. BUYING!!!

Bonus Idea:
Buy a cheap open shelving unit from a hardware or building supply store. You can cover the unit with sheets, drop cloths, or curtains to keep everything from getting dusty and to create a tidy look to your room. The key to organizing your art supplies is to keep things contained so that you don’t start feeling overwhelmed or claustrophobic. Just remember to look behind the curtain every once in a while. It’s no good if you forget you have it!
Organizing is a very personal thing and sometimes it takes a while to figure out what works for you. Let me know what your number one tip for organizing your art supplies is in the comments below.
If you enjoyed this list of simple tips for organizing your art supplies, make sure you check out my article “10 Tips to Help you Succeed as a Beginner Acrylic Painter“!
I have enough spare time nowadays to try out a new hobby, so I was thinking of taking painting classes soon. I found it helpful when you suggested getting a small tabletop set of drawers where we can organize our art supplies easily. I’ll keep your suggestion in mind when I visit an arts and crafts store this weekend to buy supplies before my painting classes start.
Painting is a great way to relax and have some plain ol’ fun. Welcome to the art community!