Meet the Author

Artist | Owner of Squishing Paint | Educator - Sara brings over 40 years of creative experience, a decade of specializing in acrylic painting, and a passion for guiding new artists as they embark on their own artistic journeys


Updated November 11, 2023
The easiest way to get yourself into the holiday spirit is to paint a simple snowman. Snowmen are a safe bet because they aren’t too Christmas-y but they sure do have a magical way of transporting you back to your childhood!
In this article, I’m going to give you some pretty important tips to take your snowmen and women from round balls to cute fluffy characters full of fun and color! We’ll talk about shadows and highlights, the key element to making your snowmen/women stand out against a white background, how to give them dimension, how to add personality to each one, and I’ll even throw in a few YouTube recommendations so you can find inspiration and get some practice in. No time for making snow angels, let’s get into it!
Give Your Snowman Bumps and Lumps to Create Dimension
The one thing I’ve noticed is there are a lot of YouTube tutorials that show you how to add shadows to your snowman, which is great. Just what we need. Perfect. However, the shadows that are being added to these cute snowmen are rounded and, although snowmen are big balls of white fluff, they aren’t perfectly round and are rarely smooth.
I used to make snowmen all the time when I was a kid and, as an expert in the field of creating them, I can tell you, the best snow to use is the kind that comes from wet snow. It’s not the dusty kind that’s great for skiing, the type you want packs tightly and easily turns to ice from the warmth of mitten-covered hands.
Tip #1: Painting Haphazard shadows on your Snowman
My first tip to help you paint a simple snowman is to make sure to add your darker shadows more haphazardly, with short angled strokes. You can always go back in and soften the edges by painting a few rounded brushstrokes. Think of all the bumpy bits as spots where little hands really packed that snow in good and tight compared to other areas. This will give you a clue as to the shapes you’ll be wanting to make with your shadow colors.
Practice Steps:
- Paint a white circle
- Mix up a blueish grey color
- Using a flat brush, paint short angled strokes throughout the white circle (don’t cover the whole circle)
- Try planting your brush flat then twist the brush while dragging it a bit and finish by gently lifting off (it should kind of look like an apostrophe with the top edge being fatter than the bottom tip)
- Make sure to be random with these brush strokes (you don’t want them all going the same way or patterned at all)
- Let dry then go back in with your white using the same brush stroke (don’t cover up all of the blueish gray color)
- You can do this as many times as needed until you start seeing the blueish gray parts as divots in the white “snowball”
Tip #2: Add Shadows Underneath Your Snowballs
Don’t forget to add shadows underneath each snowball. If you just stack the snowman’s head on top of his body, he’ll look more like he’s melting, which is perfectly okay if that’s what you’re going for but, poor lil guy! Let’s keep him nice and firm by adding at least a bit of a shadow between the snowballs, ‘kay?
Practice to Help You Paint a Simple Snowman:
- Load a dry angle or flat brush with a bit of dark grey paint
- Wipe most of the dark grey paint off onto a piece of paper towel (You want very little paint on your brush before touching your canvas)
- Starting right underneath the top snowball, scumble (kind of like scrubbing or scribbling) the dark grey paint following the shape of the top snowball
- As you start to run out of paint, scumble your way down the bottom snowball just a bit (make sure to keep in mind where your light source is and how it would hit your snowman)
- Let this completely dry and, if you feel your shadow got away on you, go back in with a tiny bit of white paint
- Start at the lowest point on your bottom snowball and work you way up a bit toward the crevasse where your darkest shadow is
- If needed, keep going back and forth with your shadow color and white until your shadow is exactly how you want it
Let’s Talk About Snowmen Paint Colors
The paint colors that you’ll use to paint a simple snowman will vary depending on what else is going on in your painting. You can dive deeper into snow colors by visiting my how to paint snow article, but to sum it up, there are a few key colorways that will give your snowman lots of interest.
Tip #3: Snowman Paint Color Considerations
- Think about painting your snowman a darker bluish grey and lightening the “snow” with white as you add layers
- For shadows, consider using blues and violets
- For highlights, use a tiny bit of whatever other color is being used in the background and mix it with white (remember, snow will slightly mirror the colors around it)
- If your snowman scene features bright blue sky, you’ll have lots of highlights and not a whole lot of shadows
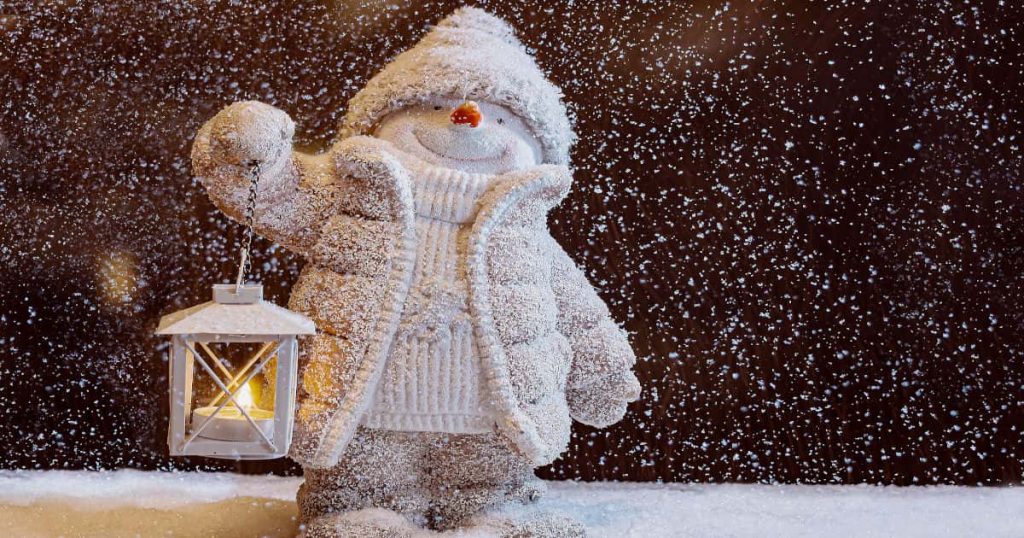
- If you paint a nightscape for your snowman painting (like in the photo above), you will mostly have shadows and very little white
Painting a Snowman’s Face
If you want to paint a simple snowman and keep it really traditional, there are a few considerations to keep in mind when it comes to the eyes, mouth, and carrot nose.
Tip #4: Painting Rocks and Coal
Traditionally, you would use either coal or rocks to make the snowman’s eyes and mouth. That said, make your little guy’s eyes and mouth look authentic by avoiding just painting black blobs of paint. Perfection is not your friend, here. You want them to be jagged or bumpy. That gives them a more realistic look and also adds instant character.
- Paint your shapes with a few angles, or maybe one eye is a bit bigger than the other
- Use a dark grey or brown to paint in the snowman’s eyes and mouth (go ahead and use black if you want them to look like coal)
- Use a lighter grey or brown to add a few angled highlights
- Do make sure that the tops of your snowman’s eyes are rounded and not flat or you may end up with your cute snowman’s evil twin!
Tip #5: Painting a Snowman’s Quirky Carrot Nose
Let’s talk about the best feature on a snowman’s face, the carrot nose! When you paint a simple snowman, this is the one part of the snowman that you’ll want to spend a bit of time on because it’s such an easy way to give your frosty friend a ton of personality.
- Paint your snowman nose in a quirky upward triangle if you want your snowman to be looking at the sky
- To make your snowman seem like he’s looking down, paint his carrot nose with the tip pointing downward
- Add lots of bends and knobby bits to the snowman’s carrot nose because, well, I have never seen a perfectly triangular-shaped carrot
- When you add bends and angles to your snowman nose, don’t forget to add shadows in the deepest part of the bends
- To create the illusion that the carrot nose is round, paint your highlights in a smiley face, or frown, from one side of the carrot toward the other, allowing the paint to fade out the further your get from your light source
- To add a bit of funky fun to your snowman’s carrot nose, try adding stripes in yellow and orange or even add in some pink or red!
Painting Your Snowman’s Twig Arms
I know this freaks people out, painting twigs, but don’t let it! Twigs and branches are so simple once you know a couple tricks of the trade.
Tip #6: Tricks for Hiding Twiggy mishaps
Twigs are naturally misshapen. They have lots of angles, a few bends, they are very rarely the exact same shape and size, and they are meant to be placed on your snowman at an awkward angle.
- Don’t try to match the arms
- Make sure that the base of each twig arm is larger than the tips of the twiggy fingers
- Paint one main branch for each arm and then add some smaller twigs to the end for the fingers
- When all else fails, you can either paint the arms so that they are angled back behind your snowman, don’t add arms at all, or add some cute mittens to the ends instead of twig fingers
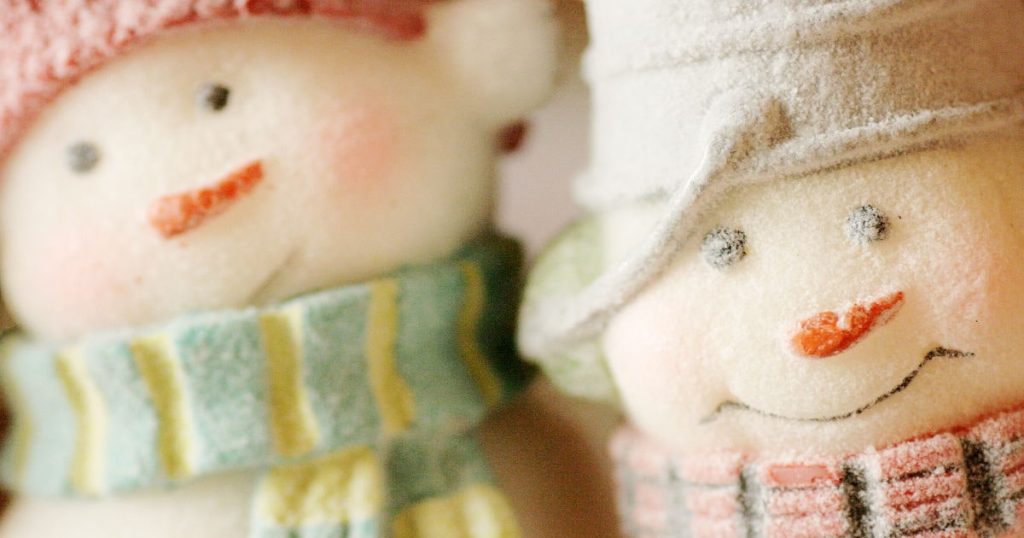
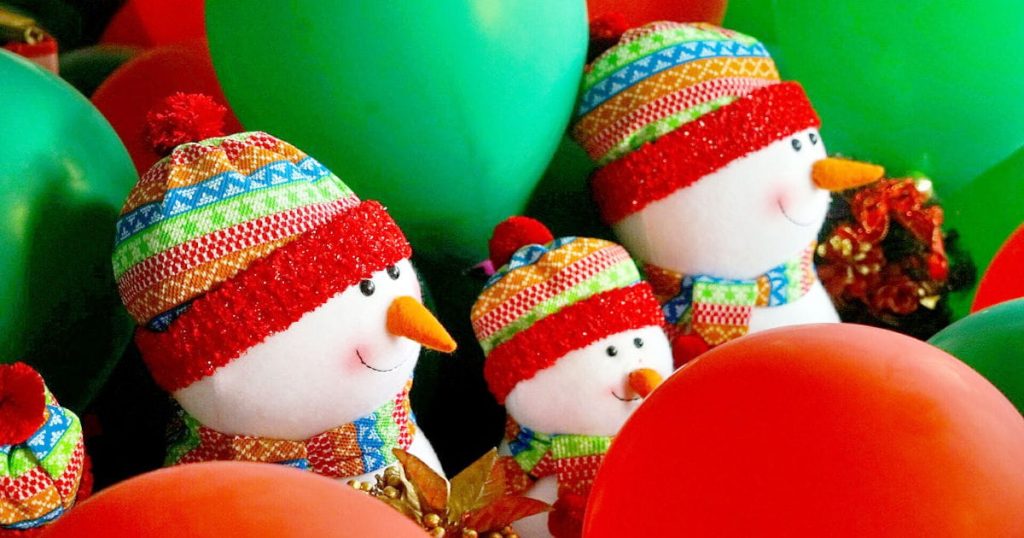
Ideas for Customizing Your Snowman Painting
No matter how cute your snowman painting turns out, it runs the risk of just missing the masterpiece mark. I don’t want you to finish painting your snowman only to be really disappointed, and spend way too much time and energy trying to fix it. That would kind of defeat the “simple” part of the snowman painting process, right? I promise it’s not you! It’s….
Dull. Boring. Missing some pizzaz, baby! Again, this has nothing to do with your skills but it has everything to do with the fact that you’re painting a snowman, sitting on a pile of snow, with maybe some snow-covered trees in the background. That’s a lot of white snow but not to worry, my painting pal!
Tip #7: How To Add Visual Interest To a Mostly White Painting
If you feel like your painting lacks a bit of something, this is a super easy fix. Add some color! Here are some ideas for adding color to your snowman painting:
- Paint a snow-covered Christmas tree with brightly colored lights in the background
- A fun patterned scarf
- An oversized winter hat complete with fuzzy pompom
- Cozy cute mittens
- A holly berry bowtie
- A tacky Christmas tie
- A Dr. Suess inspired top hat
- Add some iridescent glitter paint here and there to create sparkly frost
- A Santa hat and/or suit
- Brightly colored gifts
- A tacky Christmas sweater
Need some more snowman painting ideas and inspiration? Check out these free snowman images from Pixabay.
Easy Snowman YouTube Tutorials for Beginners
“Easy Snowman Ornaments” is a great tutorial where Angela Anderson shows you how to paint 4 different snowmen ornaments. If you wanted, you could paint all four snowmen on one large canvas instead. What a great way to get a head start on your holiday gift-giving!
Okay, who else watches the old 1964 TV Movie “Rudolph the Red-Nosed Reindeer” as part of their holiday tradition? It’s an absolute staple in our house! Here is your chance to paint “Sam the Snowman“, who was played by Burl Ives. Joni Young Art is going to guide you through the process of painting this iconic holiday snowman.
When Michelle the Painter named this acrylic painting tutorial “Cutest Snowman 3“, she wasn’t kidding! This little snowman will give you all the feels as he sits, perched on the end of a fluffy turquoise gloved finger. I am so digging the composition of this one because it’s not your typical “hey, let’s paint a simple snowman, sitting on a bunch of snow, with a grey background, and maybe a few trees” painting tutorial. It’s got some bright color and will teach you some interesting skills when it comes to painting fingers.
Final Thoughts On Adding Snowmen To Your Artwork
I hope you’ve found these tips and recommendations for how to paint a simple snowman helpful. Using the above pointers, like adding shadows under each snowball, making your snowman lumpy, and adding character to his crooked carrot nose, will really help you to paint unique looking snowmen with lots of personality.
If you were thinking of giving out holiday cards, or you have a lot of small hostess gifts to give and were thinking of gifting ornaments, paint a simple snowman on each of them. It will save you time, because you won’t be getting too detailed, but will still be a special homemade keepsake that your friends and family will truly cherish.
Just remember, the key here is to keep it easy, relaxing, and fun. Be free with your brushstrokes and don’t get caught up on perfection. Nature is always perfectly imperfect and doesn’t make mistakes. Happy painting!