Meet the Author

Artist | Owner of Squishing Paint | Educator - Sara brings over 40 years of creative experience, a decade of specializing in acrylic painting, and a passion for guiding new artists as they embark on their own artistic journeys


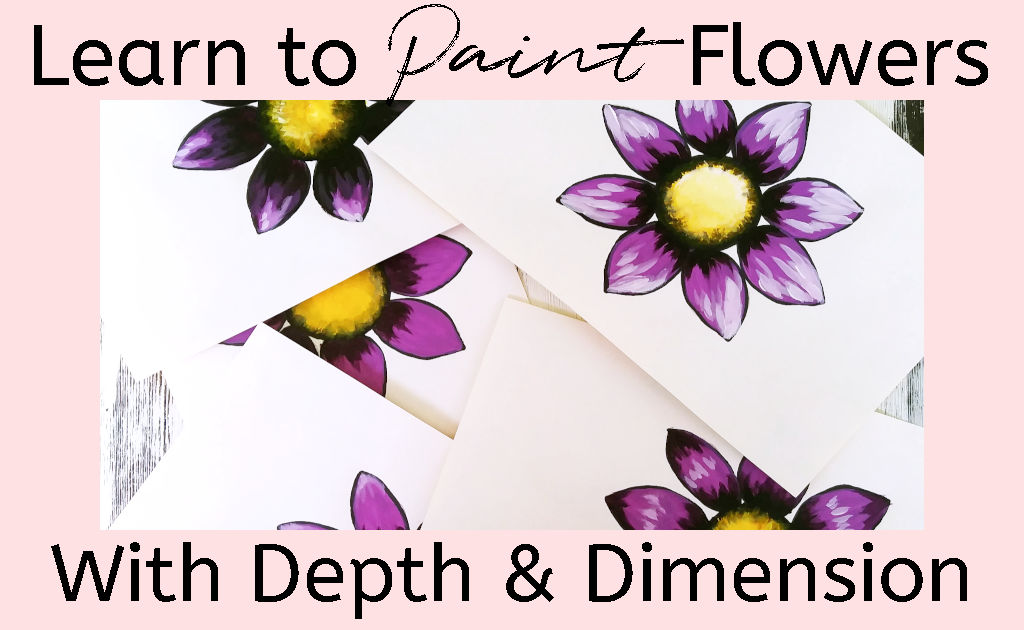
Trying to figure out how to give flower paintings depth and dimension can be really frustrating. I mean, how do you take that flat cartoonish-looking posey and turn it into a beautifully painted floral masterpiece?!
The easiest way to paint flowers with depth and dimension is to add highlights and shadows. The more layers of highlights and shadows you add, the more detailed and three-dimensional your flowers will become. Being strategic in your placement of light and shadow can take one basic shape and turn it into tons of unique flowers.
In fact, where highlights are placed can change the shape of your flower petals, and the same goes for shadows. I think you’ll be surprised how a few strategic brush strokes in different colors can change everything!
Get ready to practice adding dimension to flowers, using simple shapes and minimal brushstrokes. Let’s get into it!
Depth vs. Dimension In Paintings: What’s the Difference?
First, let’s talk about the difference between depth and dimension.
In the art world, depth refers to the distance an object is from the viewer. For example, a landscape painting featuring a misty forest that fades into the background, where just the barest hint of a mountain can be seen in the distance.
On the other hand, the actual shape of an object is called dimension. So, a flower would be a shape that has dimension.
Now, many artists believe that this is the proper way to refer to these terms, and there is no room for any alternatives. And, that’s fine to each their own.
But, and this is a big but, I feel like it’s the difference between “potato” and “po-tah-to”. Objects need depth to give the illusion that they’re three-dimensional; that’s just math. Think of it this way, a cube without depth is just a square, even if it is just a drawing on a piece of paper, right?
Most of us aim to make our art seem more realistic, which means it needs to look at least somewhat three-dimensional. To accomplish that, you need depth in each object. You need parts of the shape to look closer to the viewer while other sections of the form seem more distant.
To me, depth is a part of dimension, so it only makes sense to refer to the term when talking about the shape of an object. In this way, the two terms are definitely interchangeable.
So, I’m going to go against the grain (what else is new) and refer to depth and dimension as meaning the same thing. We just want to paint and not waste time contemplating words, am I right?! Moving on…
Things You Need To Know Before Painting Flower Petals With Dimension
What’s the big fat secret when you want to give flower paintings depth? Well, it has everything to do with light and shadow. Yep, it’s just that simple (I mean, there’s a bit more to it, but this is a solid starting point).
Once you figure out what you’re actually looking at, and how light and shadow play into it, everything becomes clearer. Take a look at this daisy image and see if you can find the shapes that make up the highlights and shadows.
Let’s take a closer look at the structure of a flower and how that affects what we need to do when we paint flowers:
- Flower petals are usually semi-opaque so keep in mind that light can shine through them a bit
- Like roses and poppies, flowers can have delicate petals that bend, curl, and crease. This causes the highlights and shadows to shift position so each petal will be unique
- A lot of flowers have a sheen to them which causes even brighter highlights
With all of this light and shadow going on, it’s no wonder some of us have issues! But we’re not going to give up, right, fellow rock stars?! Let’s really figure this out with a bit of practice.

Adding Depth To Flower Paintings: Playing With Light And Shadow
We’re going to keep it really simple with our flower painting to focus on creating gorgeous depth and dimension through highlights and shadows.
Remember the daisies you used to draw in grade school? Yep, we’re goin’ old school (or, as I like to say, “retro re-do”) so no fancy drawing skills are required!
Gather Your Supplies:
- Paint color of your choice for the center of your daisy
- Paint color of your choice for the petals
- White Paint
- Black Paint
- A Surface to Paint On (white paper, cardstock, canvas/panel, even scrap cardboard will work)
- A couple of brushes (it doesn’t really matter which kind, so use what you’re comfortable with)
- A pencil to draw the simple daisy shape (or chalk, watercolor pencil, etc.)
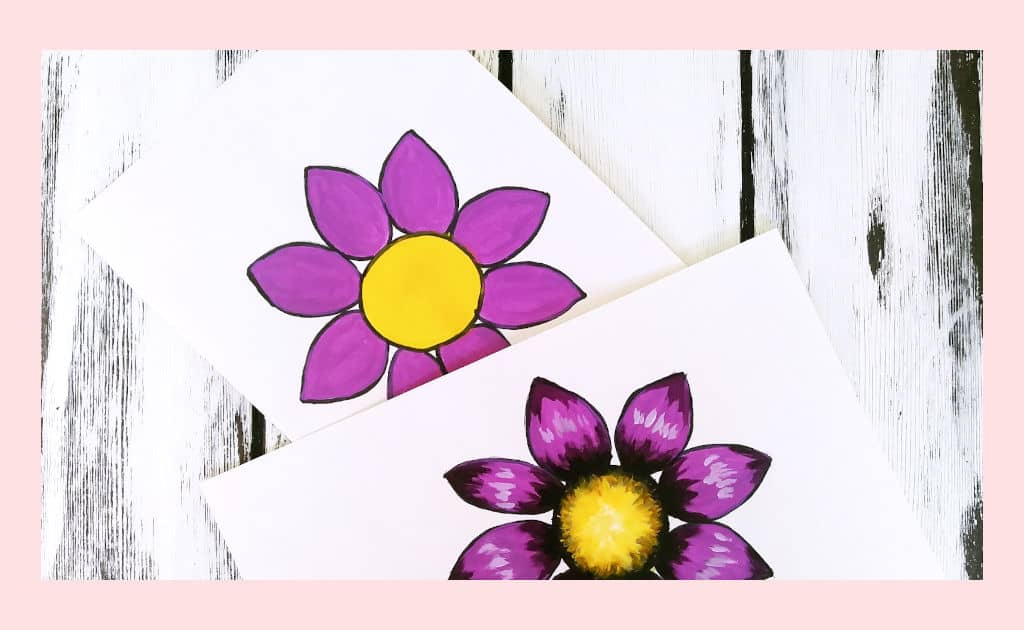
Before we dive into the practices, let’s draw six easy daisy shapes and paint each one using whatever paint you like. The only rule is to paint all of the flowers the same color so you can easily see the difference between each daisy when you finish.
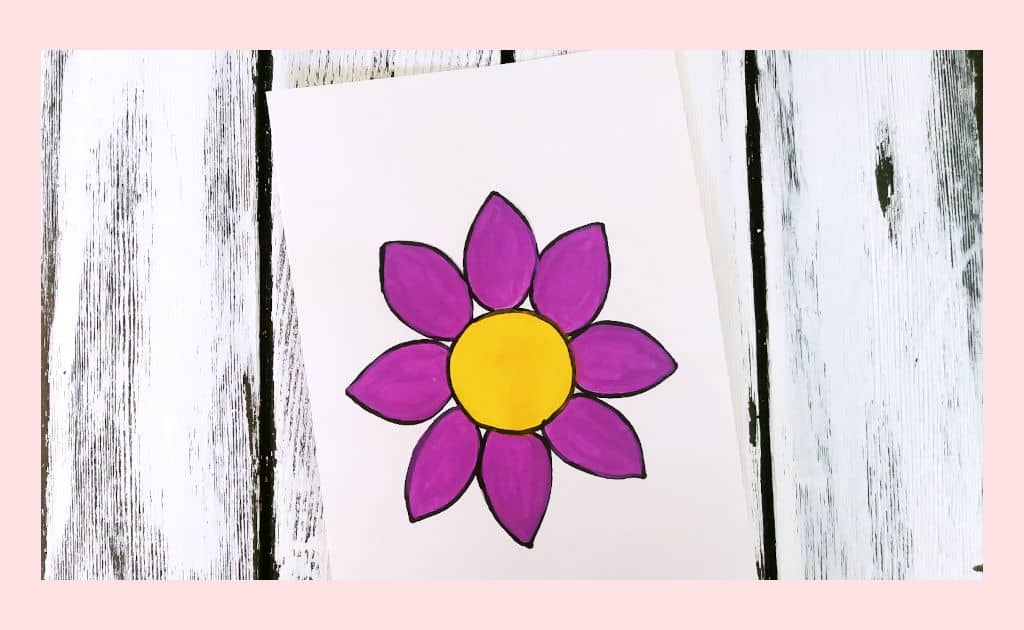
One of these flower paintings won’t get any highlights or shadows so we can use it to make comparisons with the others.
To choose paint colors that will work nicely together, without turning into grey or brown if they accidentally get mixed, take a look at my color wheel article.
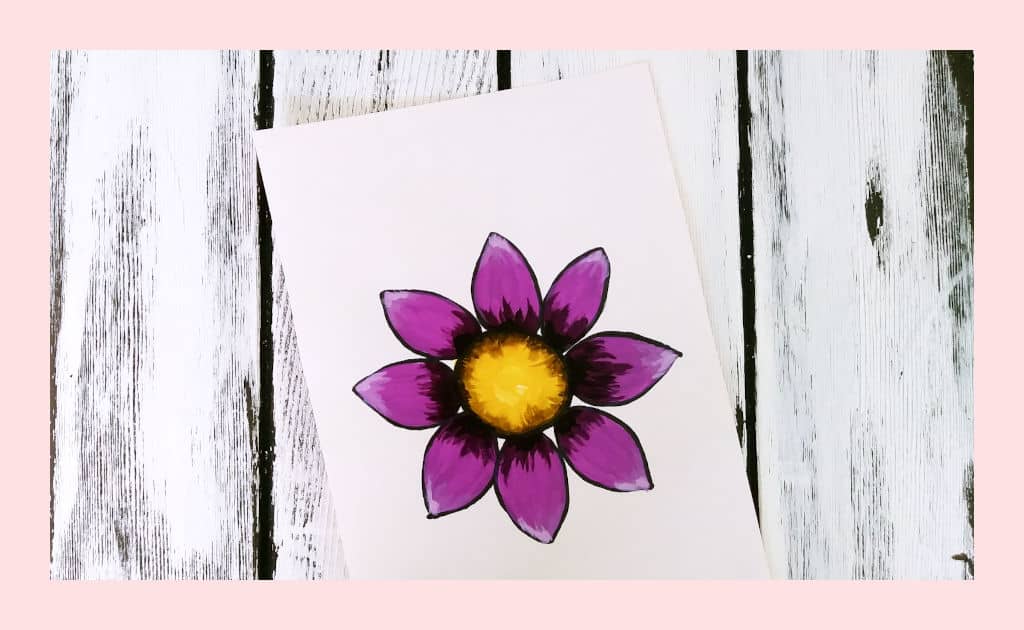
Practice 1: Give Flower Paintings Depth and Dimension With A Few Shadows
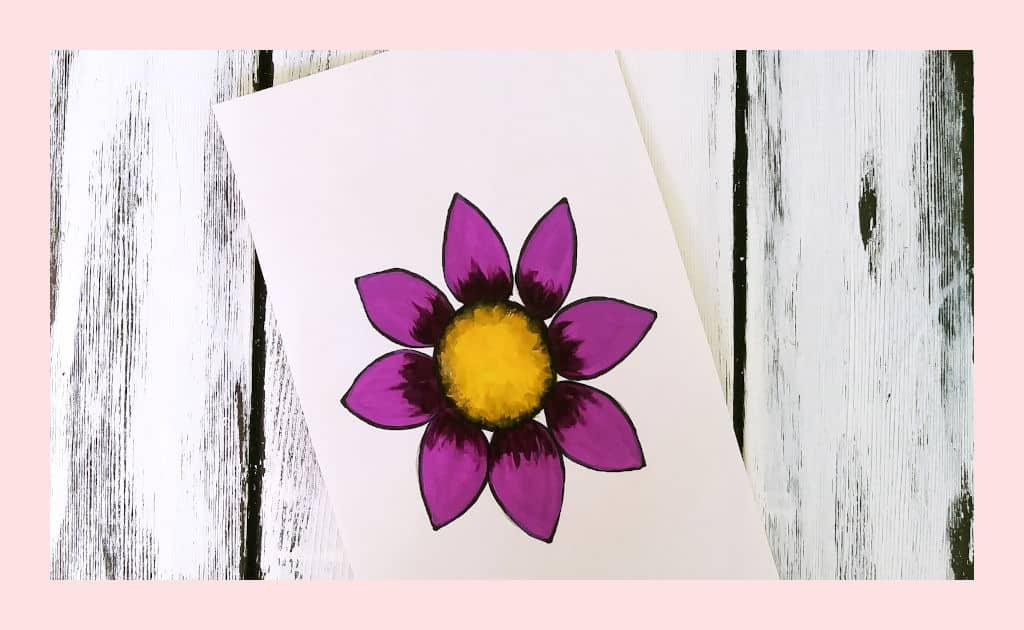
What do you notice about the daisy in the above photo? See how the darker part of the petal looks deeper and somewhat sunken in? When you want to paint flowers with depth, remember that shadows make things look further away or deeper.
Directions:
- Mix a tiny amount of black paint with the paint you chose for your petals
- Load a small amount of the mixture on your brush of choice
- Using a feather-light stroke, put this on the part of the petal closest to the center and lighten your touch even more as you drag the paint up into the petal (a very light touch is crucial, and not too much paint on the brush!)
- Mix a tiny amount of black with the color you chose for the center of your daisy
- Start at the edge of the flower center and slightly drag the mixture in toward the middle just a bit
- Add a teeny bit more black to your shadow mixture and add that to the very edge of the daisy center (you are just making sure that the area where the petals attach to the center is nice and dark)
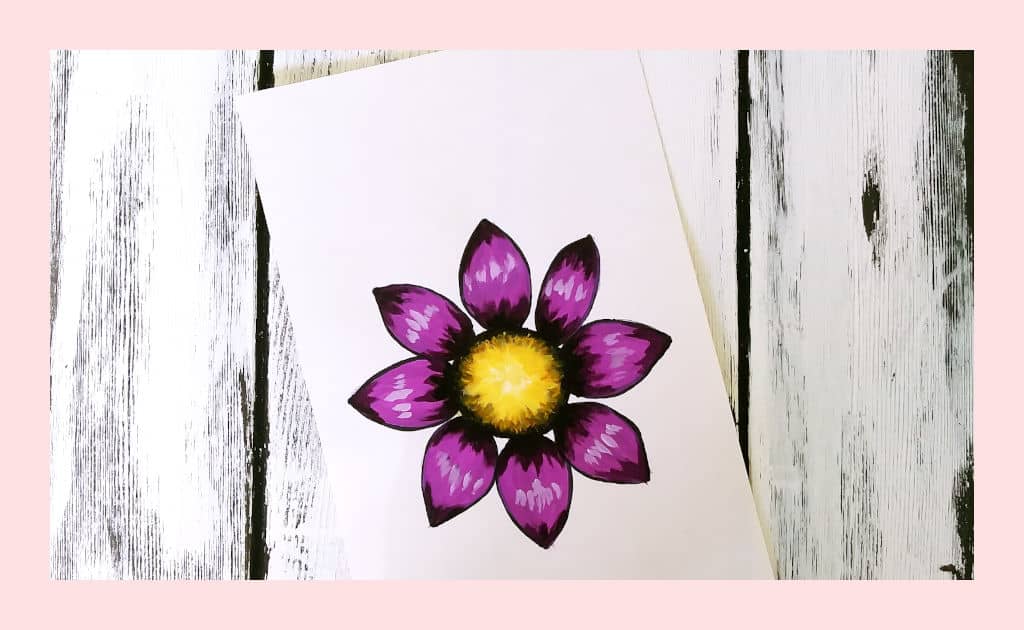
Practice 2: How To Add Highlights To Create Dimension
Highlights create the illusion that something is closer to the viewer and can make a subject seem to pop off the page. Adding highlights, along with shadows, to your flower painting will create even more dramatic dimension and helps define the shape and structure of your petals.
Directions:
- Repeat practice 1
- Mix your petal color with some white
- Using small, light strokes, paint some highlights on the tips of each petal
- Mix your daisy center color with some white
- Gently add a few random strokes to the flower center, right in the middle
Practice 3: Where You Paint Shadows And Highlights On Your Flower Can Change Everything
To give flower paintings depth, you can use the placement of your shadows and highlights to create a totally different shape.
The highlights in this daisy make the middle of each petal seem closer (or higher), and the shadows on the tips and at the base of each petal make those sections seem deeper.
Used together, you end up with petals that arc toward the viewer and continue to droop downward as it moves closer to the tips. Cool illusion, right?
Directions:
- Mix a shadow color using your petal color and a bit of black
- Add shadows at the base of each petal and the tip of each petal
- Mix your petal color with some white
- Add a highlight to the middle of each petal, using a few different sized strokes
- Create a shadow around the middle of the flower center
- Add a slight highlight to the middle of the daisy center
Practice 4: Adding A Ton Of Highlights To Your Daisy Painting
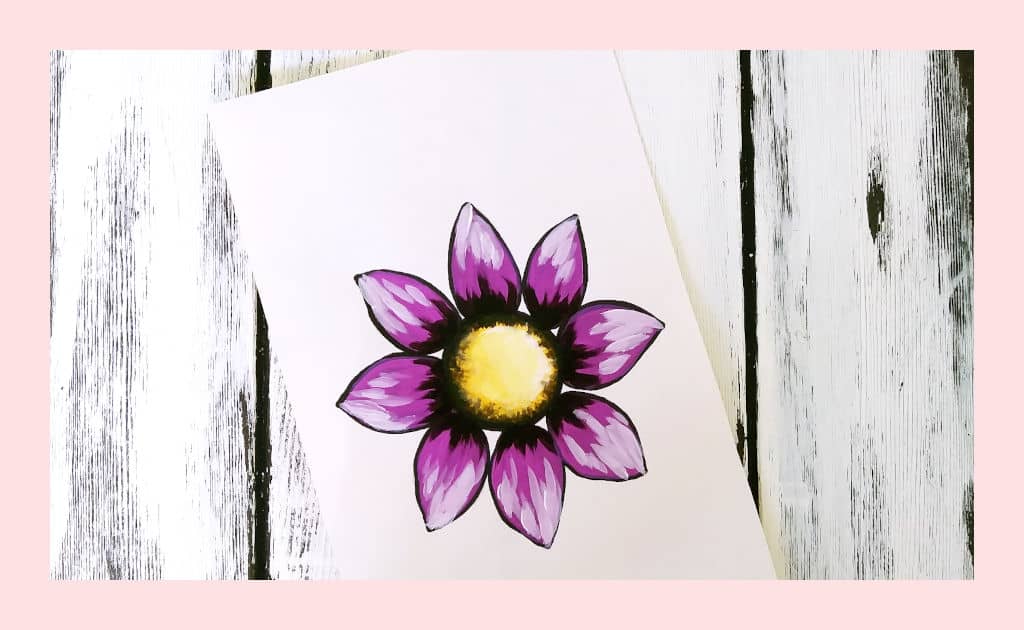
You can create painted flowers with depth by adding a lot of highlights. This gives the illusion that the petals are wide open because more light hits them.
This effect is even more noticeable when you paint a bunch of daisies with different levels of highlights and shadows near one another. This is where the depth of each flower really helps to create interest.
Also, depending on the placement of the highlight within the center of the daisy, it can look like the light source is hitting it at an angle.
Directions:
- Add a small amount of shadow to the base of each petal
- Add a large amount of highlight to the tips and bring it down toward the bottom of the petal but leave some of your original petal color showing
- To the center of the flower, put a tiny amount of shadow color around the entire center
- Take some of your center color and mix with a bit of white
- Add the lighter mixture to the majority of the daisy center, leaving some of the original color showing near the shadow color
- Mix more white to the lighter mixture until it’s mostly white but still has a bit of color in it
- In a “C” shape, following the form of the flower center, add a small amount of highlight to one side, making sure to leave a bit of the original color showing in the space between the bright highlight and the shadow
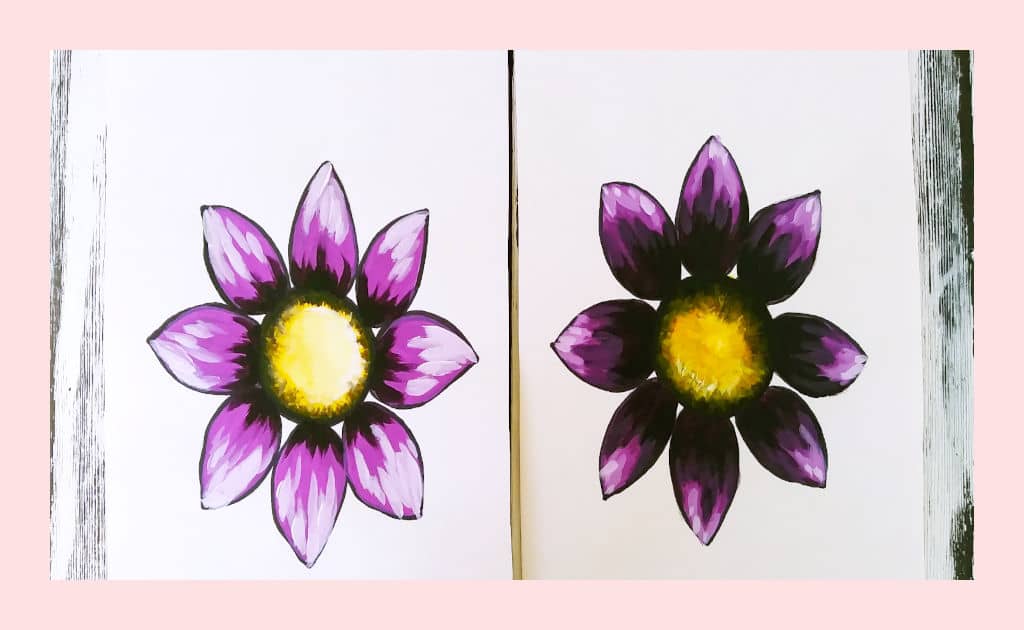
Practice 5: Use Lots Of Shadows To Create Drama And Amazing Depth
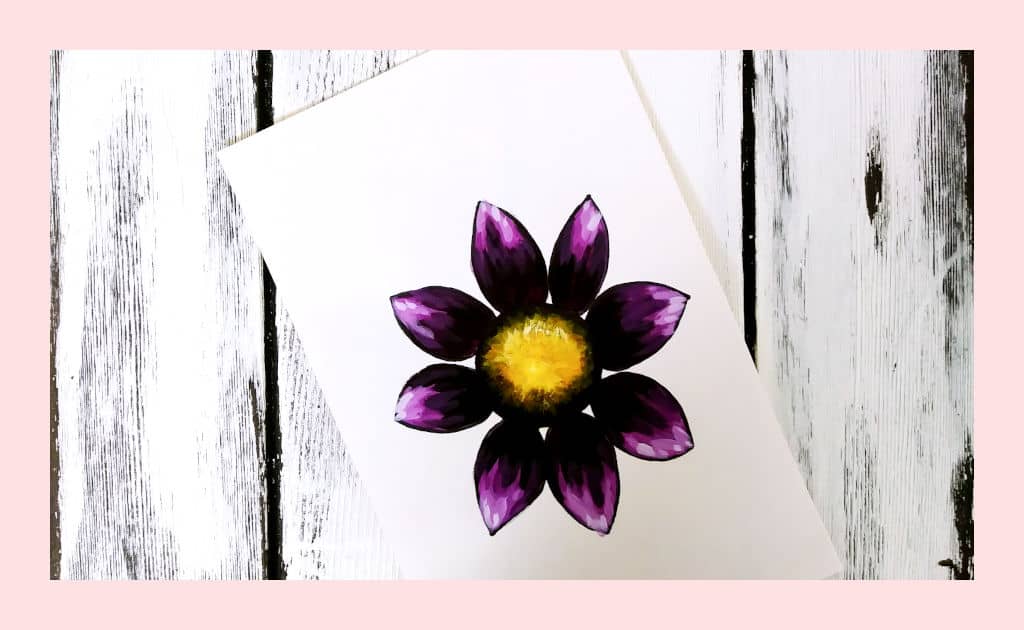
When you paint flowers deep in shadow, the role your highlights play becomes even more important. In this example, the daisy seems to be slightly closed up and facing at a downward angle.
Directions:
- Add a large amount of shadow color to the base of each petal and bring it up toward the tip, leaving some of your original petal color showing (keep in mind that you need to leave enough room at the tip to add a highlight and still have a bit of the original petal color showing to act as a transition between the highlight and the shadow)
- Add a couple of small strokes of highlight color to the tip of each petal
- To the flower center, add a nice dark shadow along the very outside edge (don’t pull it in too far)
- Lighten your shadow color just a bit and add another layer, taking it further into the center of the daisy, and adding more shadow to one side of the center, while leaving a small amount of original paint color near the middle
- Add a titch of white paint to your base color and dab a bit of this in a “C” shape, directly opposite the place where you added more shadow along the edge
As you can see, the amount of shadow compared to highlight, and vice versa, shows how much overall light is hitting the daisy and where the light source is coming from.
With this in mind, you can give flower paintings depth and dimension by using lots of highlights or shadows to make a flower seem wide open or filled with shadow, giving it the illusion that it’s either in the shade or just about ready to open up.
Extra Tips:
- Decide where your light source is and envision how a ray of that light would hit your flower. That will help you see where to add your highlights and shadows
- The more tones you add for the shadows and highlights, the more realistic your flowers will look
- To learn even more about adding highlights and shadows, check out my article where I walk you through painting a realistic sphere
Creating Flower Paintings With Depth (Final Take-Away)
The important thing to remember when trying to give flower paintings depth and dimension is that it takes practice and patience. Start small and simple, with just a few shadows and highlights and a single light source.
It can be a really abstract concept to wrap your brain around when it comes to highlights and shadows, and the more you try to add, the more challenging it can be.
So, give yourself a break, ease your way into it, and keep trying.
In the comment section, let me know which type of flower you feel is the hardest to paint?
Don’t forget to share with your painting pals!