Meet the Author

Artist | Owner of Squishing Paint | Educator - Sara brings over 40 years of creative experience, a decade of specializing in acrylic painting, and a passion for guiding new artists as they embark on their own artistic journeys


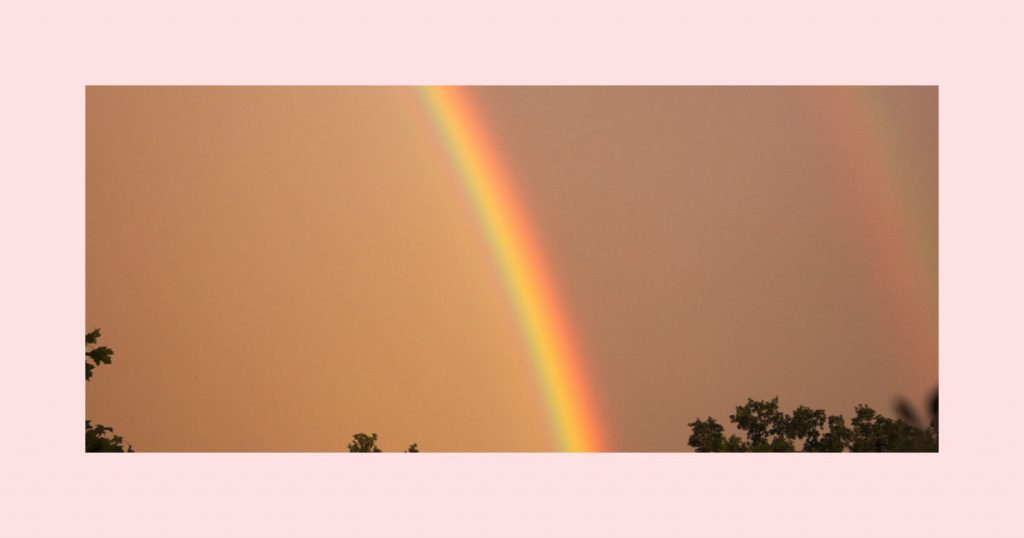
Liven Up Your Décor With a Cheerful Rainbow Painting
If you want to learn how to blend with acrylics, painting DIY rainbow art is a great start. You’ll also learn a thing or two about color theory and why you need to be careful with color placement so your rainbow doesn’t turn to mud. Not cute.
I’ve also found some DIY rainbow art that includes how to paint clouds, which I know is something that a lot of artists struggle with but, hey, what would a rainbow be without a few clouds?
Ready to dive into glorious bright colors and learn how to blend? Let’s go!
Super Easy Rainbow Sky Acrylic Painting Tutorial
Let’s rip the bandaid off real quick and start with our first DIY rainbow art tutorial, “Rainbow Sky & Dreamy Clouds” by Ahmad Art.
This painting tutorial has a very peaceful vibe to it, and by the time you’ve finished, you’ll have learned so much. The artist doesn’t walk you through this painting but some notes will pop up on the screen and you can clearly see what they’re doing so you can follow along.
The focus of this piece of art is a beautifully blended rainbow sky, in softer colors, with stars (which is the same technique used to paint snowflakes. You can read more about it in my snowflake article), and fluffy clouds that are made without using a paintbrush.
Painting Tools You’ll Need For This Rainbow Art Project
Before you start gathering up your art supplies for this rainbow painting, the artist doesn’t say what size canvas they are using. This isn’t a huge deal but just be aware that you’ll want to size your paintbrushes according to the size of your work surface.
For example, you wouldn’t use the same size brushes for a 16×20 canvas as you would for a 5×7. It would take you foreverrrrrr!
This is why I always tend to tell you which type of brush is being used but not the exact size. Plus, the numbers on paintbrushes differ depending on what brand you get. Yep, it’s totally annoying but I prefer to look at it as freedom of choice….. I know, that’s quite a stretch, haha!
For this DIY rainbow art tutorial you’ll need:
- 3 sizes of flat brushes (small, medium, and large)
- 2 sizes of round brushes (small detail, and medium)
- A small piece of a kitchen sponge
- A surface to paint on
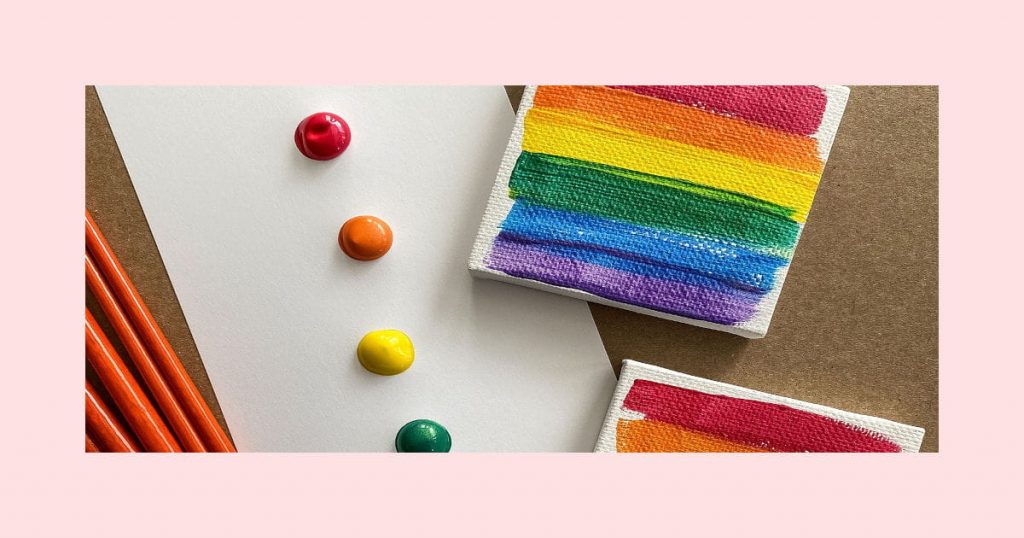
- Paint colors:
- Titanium White
- Brilliant Purple (this is diox purple with white added but you could use any purple that has a cool undertone and is vibrant)
- Quinacridone Rose (any slightly cool pink paint color will work)
- Venetian Rose (a mix of white, naphthol red, and yellow oxide so use a warm pink)
- Naples Yellow Red Light (a mix of white, yellow oxide, and red oxide so mix white with a wheat yellow and add a titch of a brick red)
- Azo Yellow Deep (I would describe this as a rich primary yellow that leans toward orange but not by a whole lot. So, I would mix a sunny yellow with a bit of bright orange)
- Turquoise
- Brilliant Blue (phthalo blue, phthalo green, and a bit of white so it’s basically your turquoise color but it leans more toward blue than green)
Awesome Skills You’ll Learn From This Rainbow Painting Tutorial
- Color mixing
- Blending wet into wet
- How to paint stars
- How to paint a crescent moon
- How to paint fluffy clouds
- How to make sure your colors don’t turn into a muddy mess while blending
Rainbow Landscape Painting Tutorial
If you want your DIY rainbow art to be painted as part of a full landscape, try “Rainy Day Step by Step Acrylic Painting” by Color by Feliks.
This is a stunning landscape painting tutorial that focuses on a breathtaking stormy sky and a rainbow that takes center stage.
Feliks is very well known for his use of a mop brush to get smooth blends with acrylic paint and this tutorial is a great example of how he accomplishes it.
With his calming style of teaching, and an amazing ability to teach you just enough without being strict about it, he encourages you to add your own creative style to any of his tutorials.
Also, make sure to check out his own line of art materials!
Art Materials Needed
There’s nothing too crazy used to paint this DIY rainbow art but you do get to try your hand at using a soft brush with acrylic paint.
Mop paintbrushes are soft but densely packed and are great at creating very soft blends between wet acrylic paint. There is a bit of a learning curve to using them but well worth it for the effect they accomplish.
Remember, this is just the list of the tools that Feliks uses but if you don’t have them you can still try this painting. I’m a firm believer in using what you have and many techniques can be done using different materials.
What You’ll Need For This Rainbow Wall Art:
- Blending brush/mop brush
- A variety of different sized flat brushes
- 1/2” flat brush with rough bristles
- Small detail round brush
- 16×20” canvas (but you can use whatever size you have just make sure to scale your brush sizes up or down according to the size of your surface)
- Paint Colors:
- Titanium White
- Carbon Black (you could use Mars Black but keep in mind that it has a warm undertone where Carbon Black is neutral)
- Ultramarine Blue (you could also use Cobalt Blue or any blue that leans more toward violet than green)
- Naphthol Red Light (or any orangey-red)
- Cadmium Yellow Medium Hue (or any sunny yellow)
- Something to mix your paint on (if you don’t have a palette you can use a paper plate)
- A palette knife (or you could use an old plastic credit card or even a butter knife)
- Paper towel or an old rag
- Clean water
Art Skills You’ll Learn
This is a long video but it’s typically the long ones that teach you the most which is why you’ll be practicing a lot of different skills while painting this DIY rainbow art.
One thing I want to take a minute talking about is the clouds, mostly because I know how stressed new artists can get about it.
I’ve seen way too many beginners think that they suck at painting just because they can’t seem to get a handle on how to paint clouds but there is a very good reason for this and it has nothing to do with your ability to paint!
Our minds are built to make sense out of what we’re seeing. That’s why, when you’re cloud gazing, you’ll see things like animals in the cloud formations. It’s completely natural and everyone does it!
The challenging side to our organized brains is that it can block us from making random shapes when we’re painting. If we don’t have a plan, how do we know where we’re going with it, right? Well, not quite.
To paint clouds, you have to try to bypass that natural inclination to create meaning from what you see. Learn to just blob some paint on the canvas and trust your artistic instincts to guide you through it.
Of course, there are always certain steps to take to get those blobs to eventually be recognized as something but it’s a step-by-step process that slowly builds after many layers. Trust yourself. Period.
Okay, pep talk’s over, here’s what else you’ll get to sink your artistic teeth into:
- Color mixing
- How to mix grey paint to make it a bit more interesting to look at
- Using a mop brush to create beautiful clouds
- Soft blending technique with a mop brush
- Giving your clouds more dimension
- How to paint clouds that look farther away
- Using paint to enhance the glow effect in a stormy sky
- Create the illusion of distant falling rain
- What to do if you add too much paint to one area
- Build up with very light layers to create a dramatic sky
- How to paint a rainbow that fades into the distance
- Use three shades of green to paint distant grassy hills
- Paint a grassy field by laying down blobs of paint and then blending them together
- How to use blue paint to push the hills further back into the distance
- How to paint distant trees
- Create softened shadows with your fingers
- Adding sunlight to the trees and field for extra drama
- Painting squiggly lines to give the grassy field more dimension
Bonus Tips for This DIY Rainbow Art
- If you don’t have a mop brush you can use a cheap blush makeup brush
- To get the soft blend with the mop brush, you’ll want to use feather-light circular strokes while sweeping upwards (think of it as if you have a very pigmented blush and you don’t want to end up with clown cheeks!)
- You can also get the distant rain effect by dry brushing (you can read more about that method in my blending article)
- Keep your clouds random! Fight the urge to make sense out of the shapes you’re creating and trust the process
- You can use a protractor to sketch an outline of your rainbow
Quick and Kid-Friendly Abstract Rainbow Painting
For a piece of DIY rainbow art that you can do with kids, check out “Dip Pour Technique – Rainbow Colours” by Helen Hue.
This is a super quick and easy abstract painting that uses thinned down acrylic paint. Don’t let the simplicity of this tutorial fool you, though. In the end, you’ll have a gorgeous piece of abstract art that people will admire, whether they’re into abstract or not!
Helen uses rainbow paint colors, along with pouring medium, and a very clever way to get the desired effect.
Art Tools Needed
So, this DIY rainbow art project uses a few different materials that you may not have but they’re so worth purchasing because paint pouring is great a great way to just play and have fun. Not to mention, this method allows you to make absolutely stunning abstracts!
The only items that may make you hesitate are pouring medium, silicone, and a cooking torch. However, even if you don’t have the silicone and the cooking torch you can still make this piece of art.
The treadmill silicone is used to create interesting circular effects in the paint, which are called cells. The cooking torch is used to pop air bubbles in the paint and help the cells “bloom”.
Having cells in your rainbow painting is a cool effect but not really necessary to the overall look and awesomeness of the piece.
If you don’t have a cooking torch, and don’t want to buy one, I’ve had great success using a blow dryer, on a low setting, to pop air bubbles.
I’ve also tapped the painting gently to bring the bubbles to the surface and then used a few spritzes of rubbing alcohol to break the surface tension. Don’t use too much though! If you do, you’ll end up with some interesting but unexpected designs.
Don’t skimp on the pouring medium, though. If you try to use water, and add too much, you could break down the binders in the paint which could ruin your artwork. It’s best to stick with a pouring medium that is specifically formulated for this purpose just to be on the safe side.
Here’s a list of everything you’ll need:
- Acrylic pouring medium (you can find this at most art stores and I’ve also seen it on Amazon)
- Any size stretched canvas
- Pushpins
- Wax paper or parchment paper
- Gloves
- Popsicle sticks (for stirring)
- Plastic glasses (one for each color including the white for the background)
- Treadmill silicon (optional)
- Something to spread the paint out with (palette knife, old credit card, butter knife)
- A pencil
- A cooking torch (optional)
- Paint colors:
- Titanium White
- Primary Yellow (any sunny yellow)
- Light Rose (any light pink)
- Sky Blue Light (any light blue)
- Ultramarine Violet (any bluish purple)
- Reflex Rose (any vibrant to neon pink)
- Turquoise Green (any turquoise that leans more toward green)
- Silver (any silver metallic paint) (gold would also look amazing)
Painting Skills You’ll Learn
- Mixing paint with the proper amount of pouring medium to get the right consistency for the project
- How different colors of acrylic paint interact with each other when layered thickly (what color is most prominent in the end result? Did any of your colors totally disappear? Did some colors take more pouring medium to thin them out? Did you end up with any unexpected colors?)
- How to manipulate the paint by tilting the canvas in different directions
More Tips and Notes for this Abstract DIY Rainbow Art
- Really, you can use any paint colors you like (you can even choose a different color to use as the background color)
- If you aren’t happy with the end result, scrape the paint off and start again
- When you lay your canvas down onto the paint, lay it straight down (No sliding!!!)
- Very gently press the paint onto the canvas by using your gloved hands to smooth the back of the canvas
- Lift the canvas straight off (again, no sliding!!!)
- The push pins are to be put into the back of the canvas so that it’s raised up while drying (there will be paint dripping off the sides for quite a while and you don’t want your canvas to stick to anything)
- You’ll have to leave your painting to dry anywhere from 24 to 72 hours depending on how much paint is left on the canvas
- Don’t layer paint colors that are opposite each other on the color wheel right next to one another (you’ll end up with grey or brown)
- You don’t need to add metallic paint but it does look gorgeous once the painting is dried and varnished
- These types of paintings look best with a high gloss finish (consider using a high gloss spray varnish or learning how to use resin)
Wrapping Up Our Colorful Collection Of Rainbow Painting Ideas
DIY rainbow art can be as easy or as challenging as you want. As long as you use lots of bright cheerful rainbow paint colors you can make just about anything into a rainbow painting! I’m not even kidding. Look up rainbow paintings on YouTube and see what other fantastic tutorials pop up (rainbow zebra, anyone?).